 24-02-2009, 10:49 PM
|
#1 | |
|
CSL Register Uber-poster!
  
Join Date: Sep 2007
Location: Scotland
Posts: 8,777
Casino cash: $42229   |
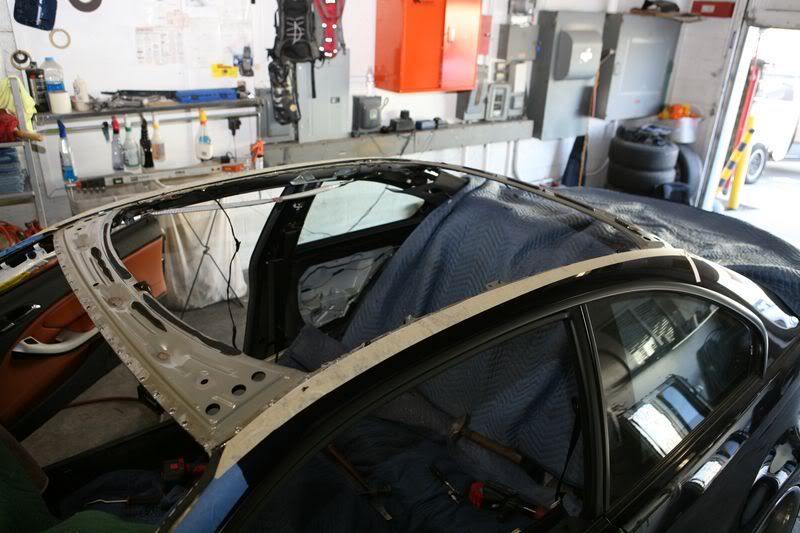
Here is a quick/simple overview of the install of an OEM CSL Roof on a Carbon Black e46 M3 (think it may be the first ever with this combo). I have a TON of pictures that I took of the install but here are a few hi-lights and tips. Please note that I did not participate in any of the work and was fortunate enough to be allowed to watch and learn. Again, I have benefited tremendously from this forum and hope this is a way to give back just a little. All the work was done at Simple Image Autobody and Collision in Santa Clara, CA. The shop owner, Joey, is an extremely pleasant person and does excellent/meticulous work. I was very impressed with his organization, the thoroughness of his work and you can tell he takes much pride in what he does and very much appreciates the e46 M3. I would highly recommend him as his shop painted all my OEM CSL parts (trunk/diffuser/front bumper). For reference, this is what my car looked like before the roof install- http://www.m3forum.net/m3forum/showt...t=oem+csl+ucal
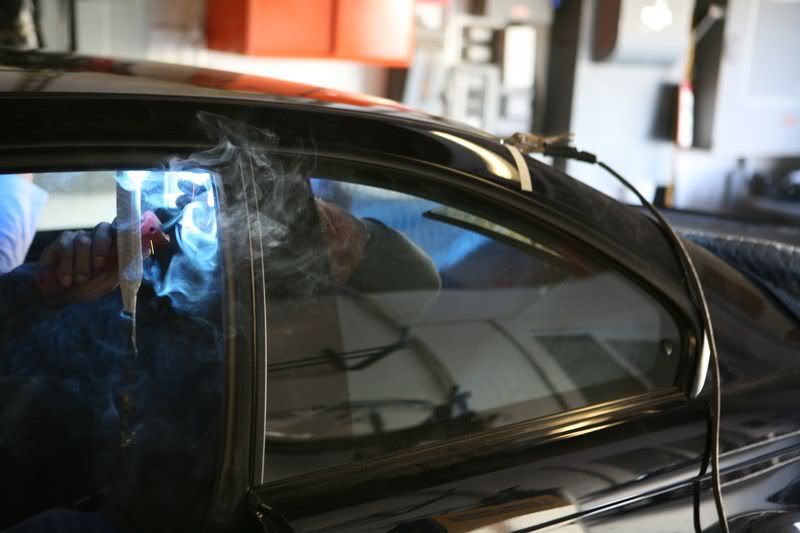
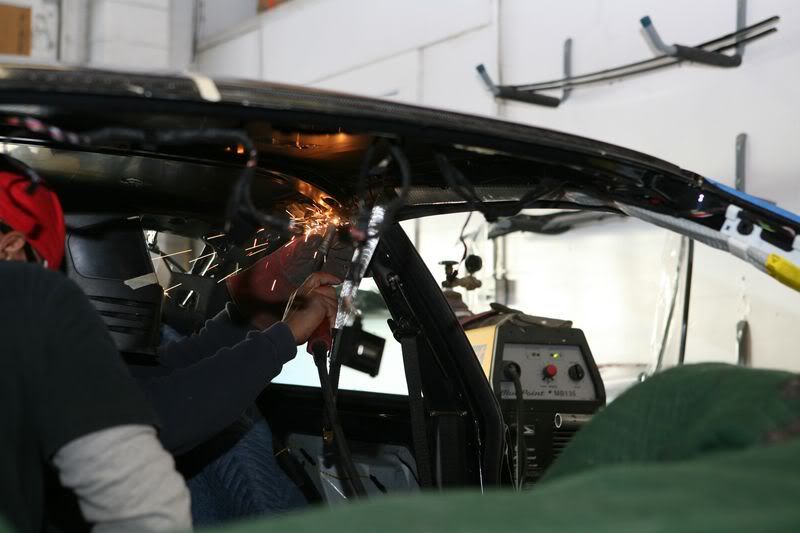
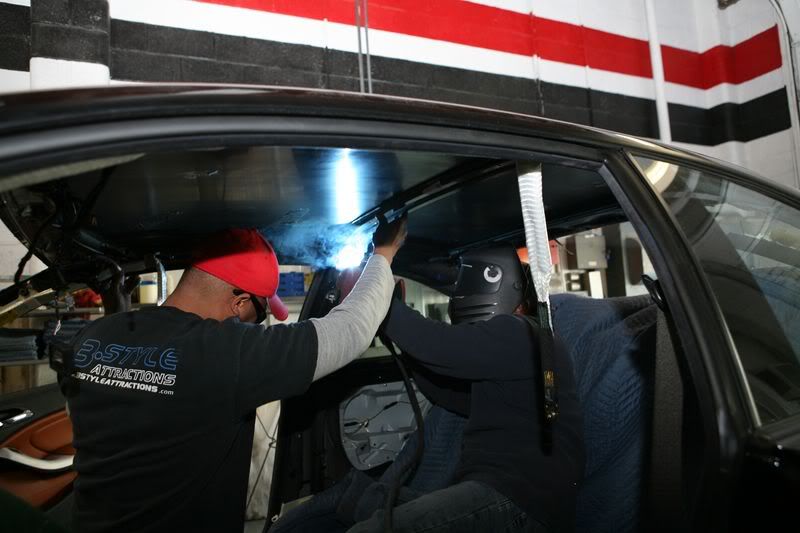
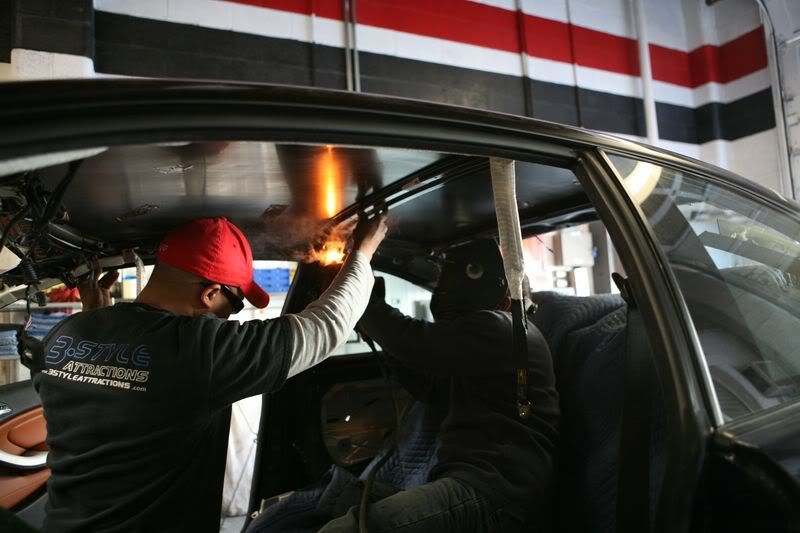
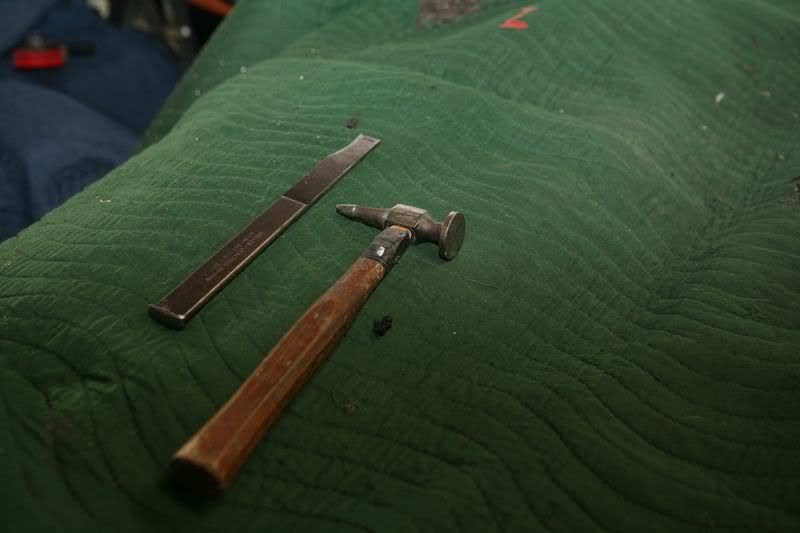
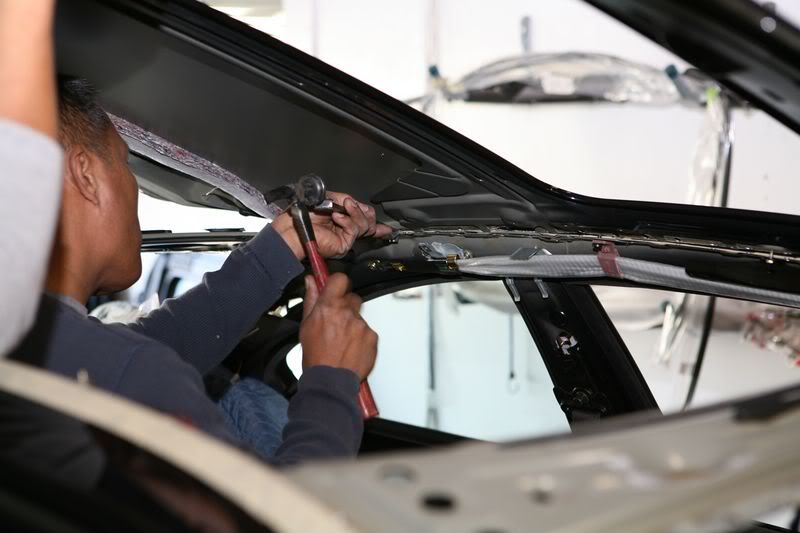
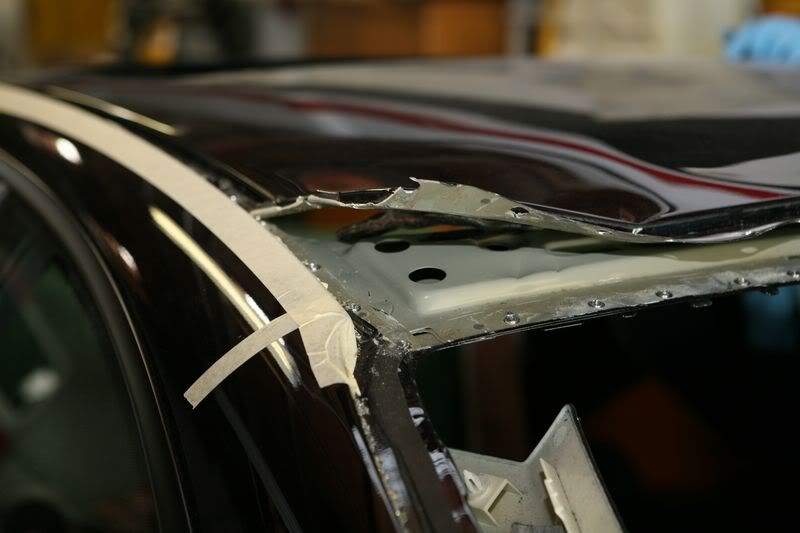
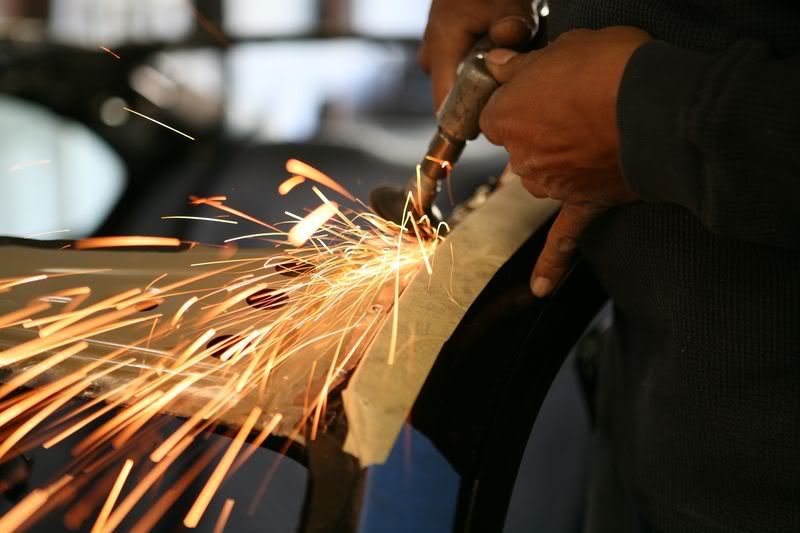
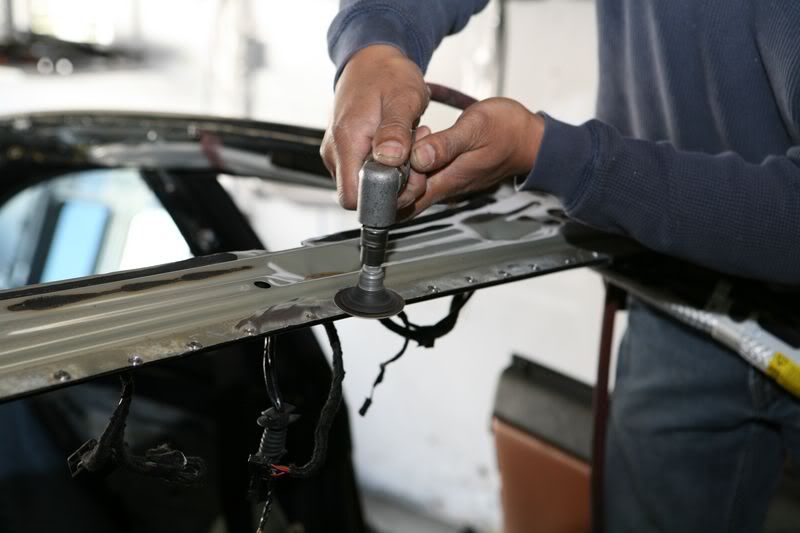
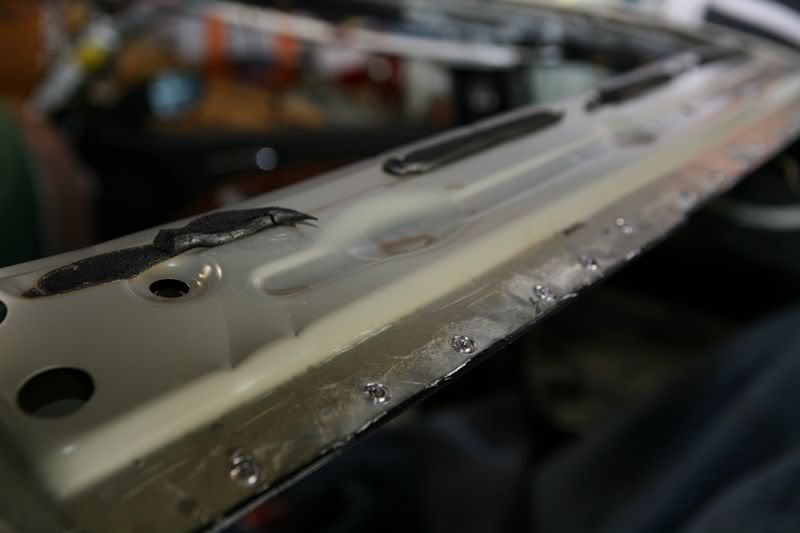
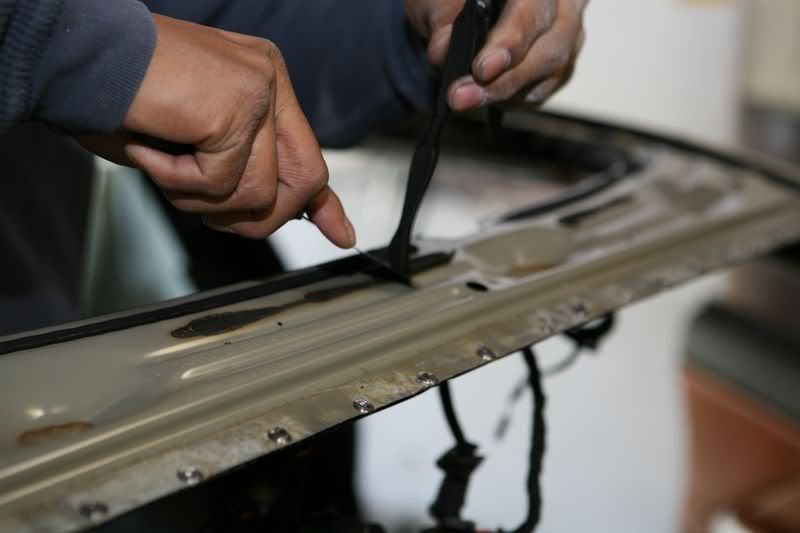
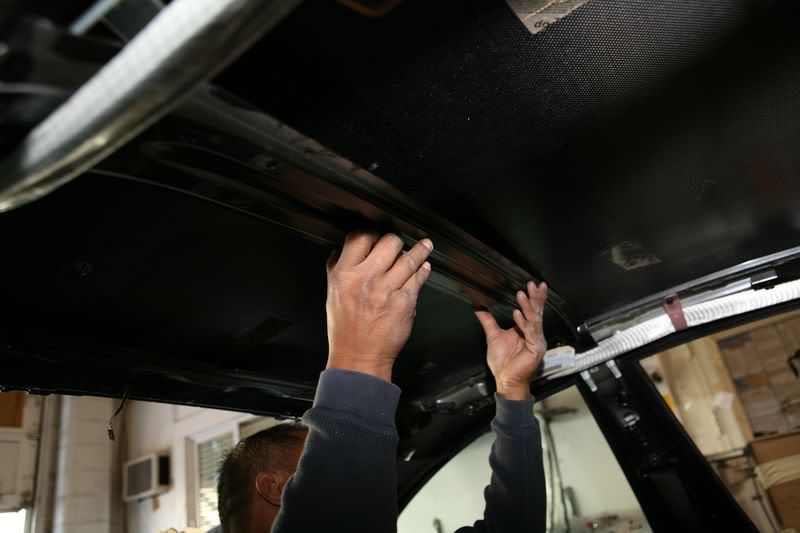
Okay, here we go: First up, (1) e46 M3 OEM CSL Roof 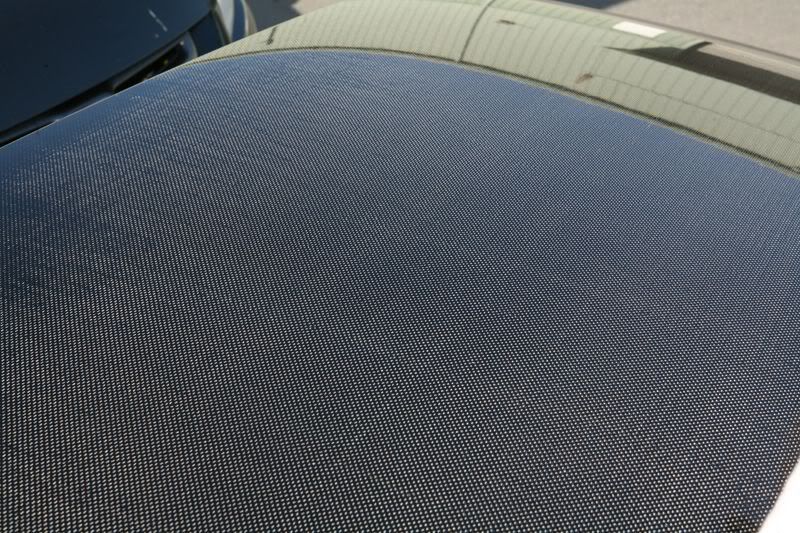   1. Not Shown but what actually takes the most time/difficulty- Removal of interior (Front/Rear Seats, Headliner, etc), Exterior Rubber Trim/Rails, Front and Rear Windows (Interestingly, this requires a glass specialist and tool and 95% of the time when removing the front window it will crack- Luckily, I was in the 5% range). 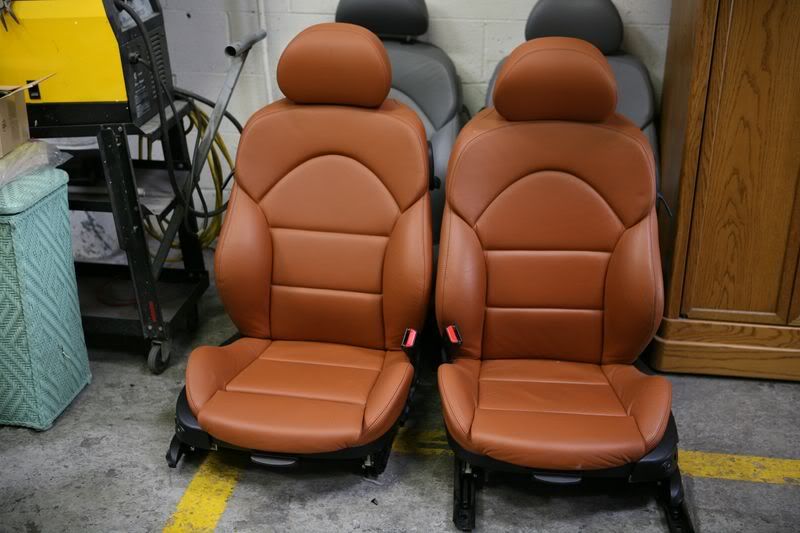 2. Make sure all interior/exterior parts are well covered and protected. 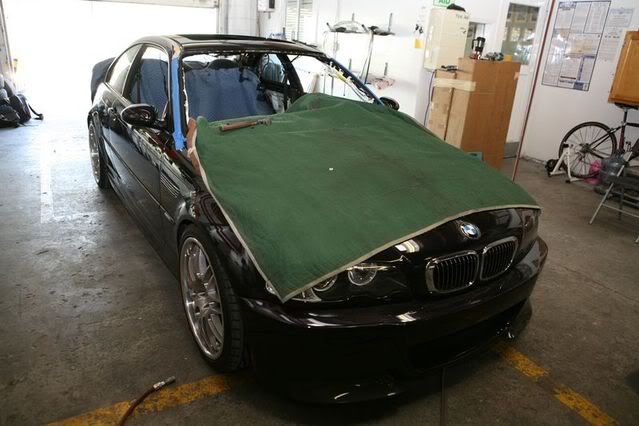  3. When taking off the original roof it is important to carefully identify where the original spot welds are placed. 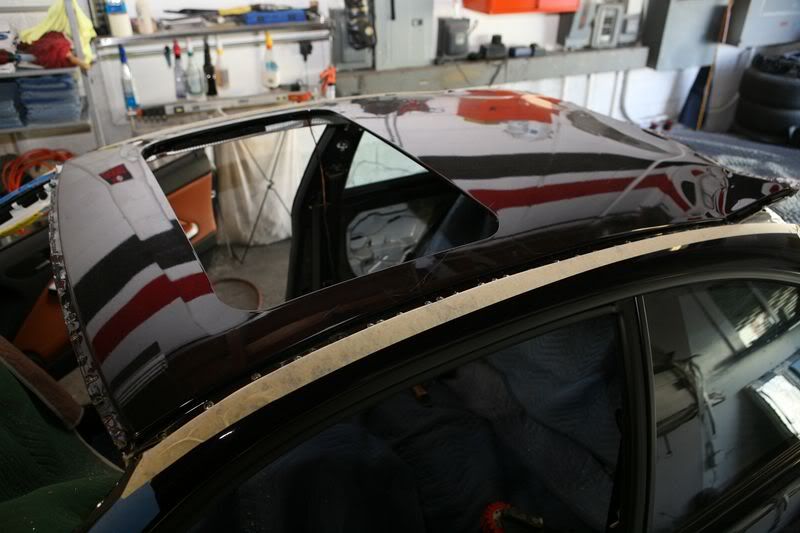  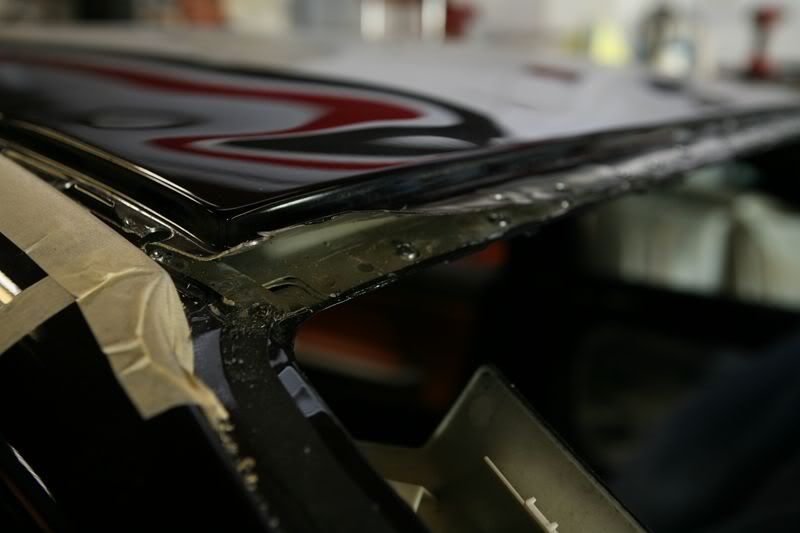 To do this requires: a) sanding/grinding to help pinpoint the weld. 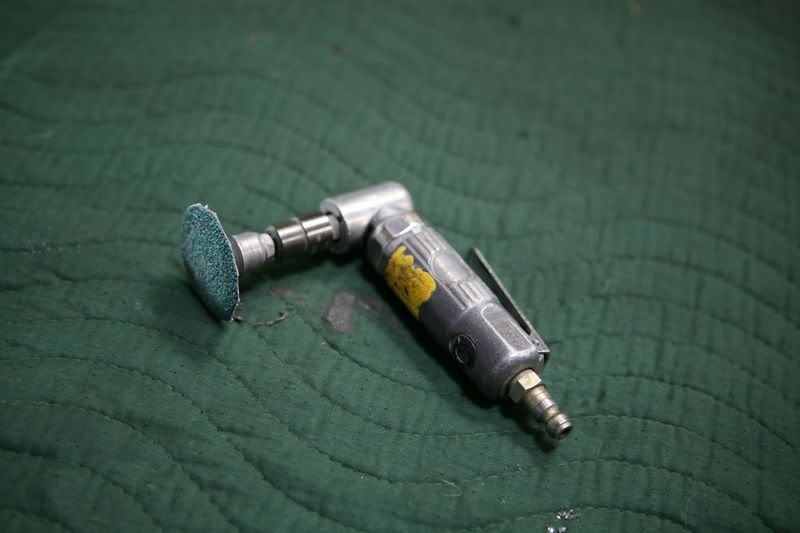 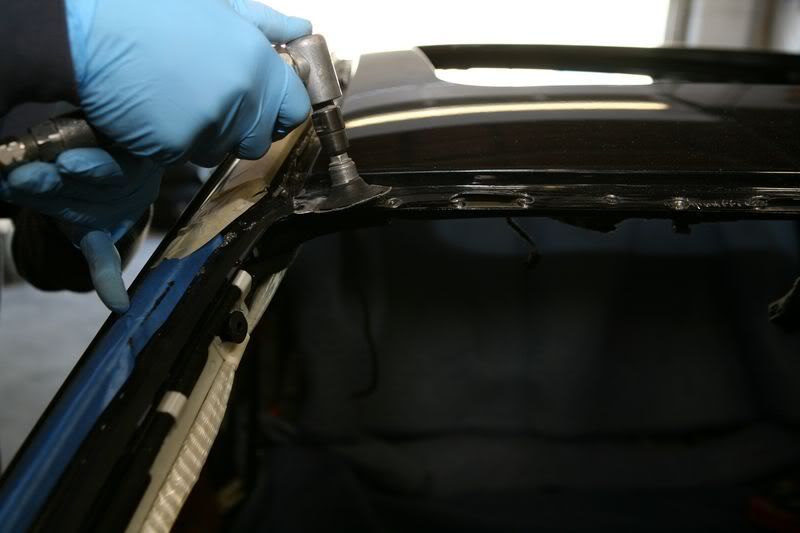 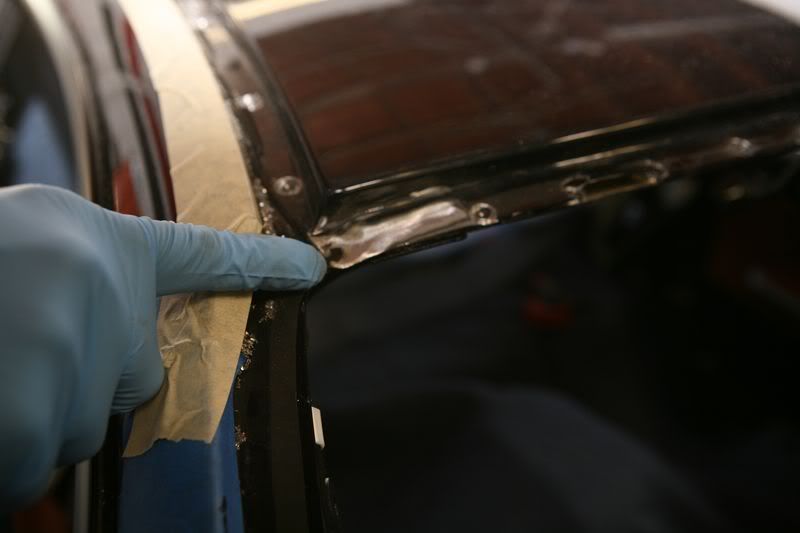 b) drilling a lead hole.   c) Removing the weld with a special drill bit. 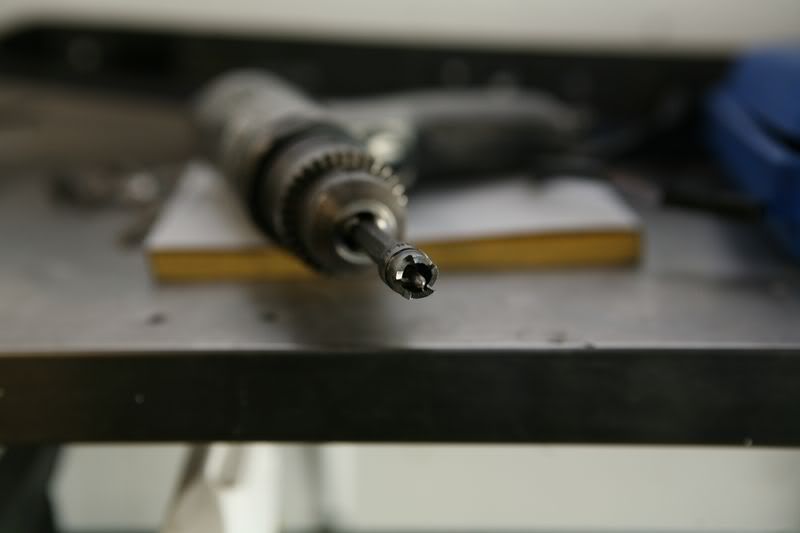 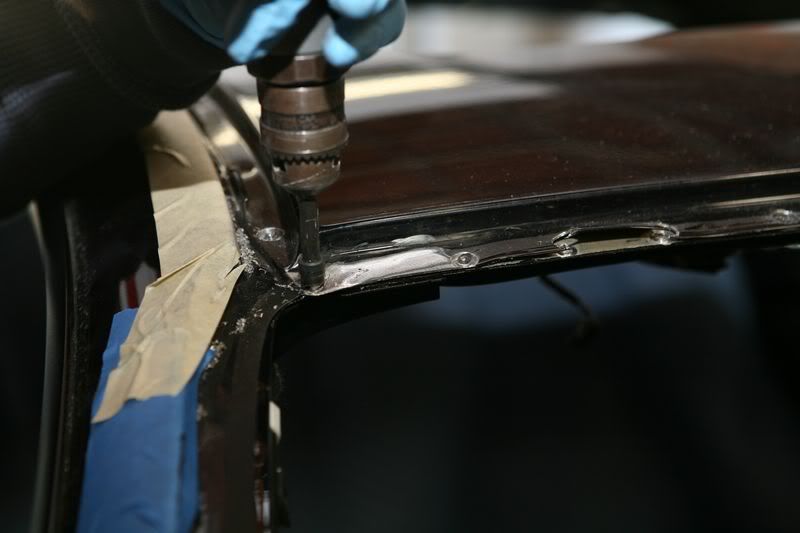 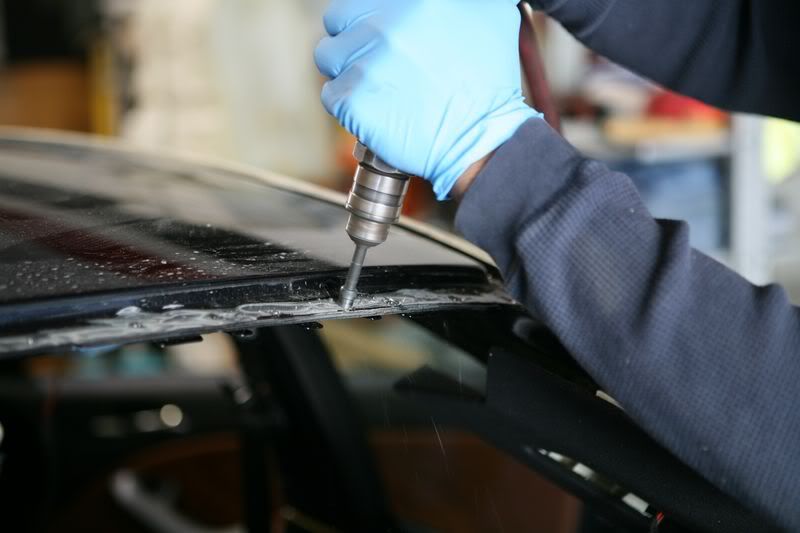 [/quote] [/quote]Quote:
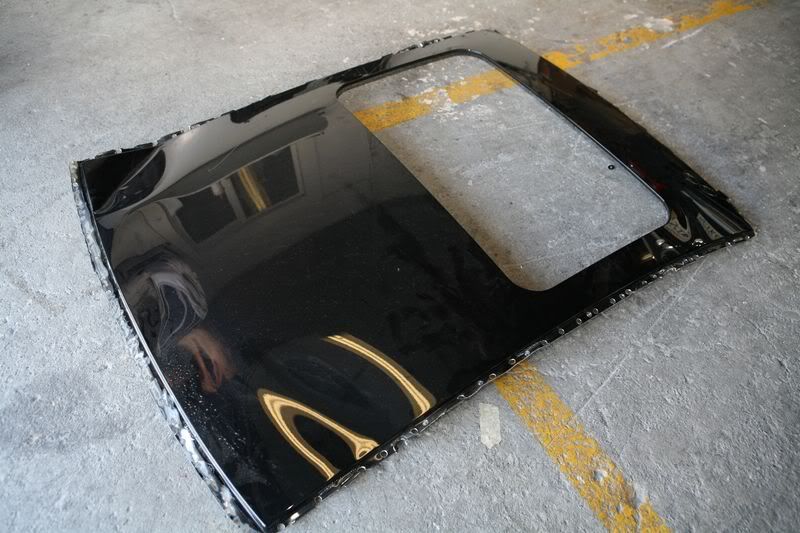
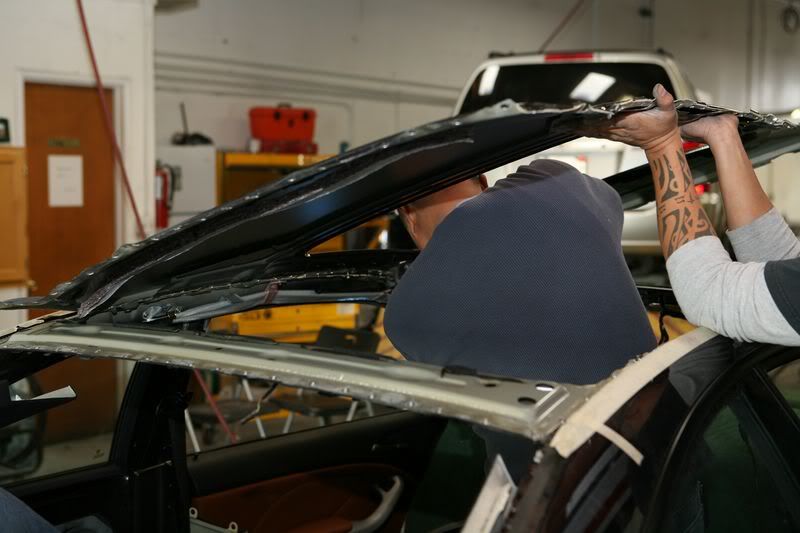
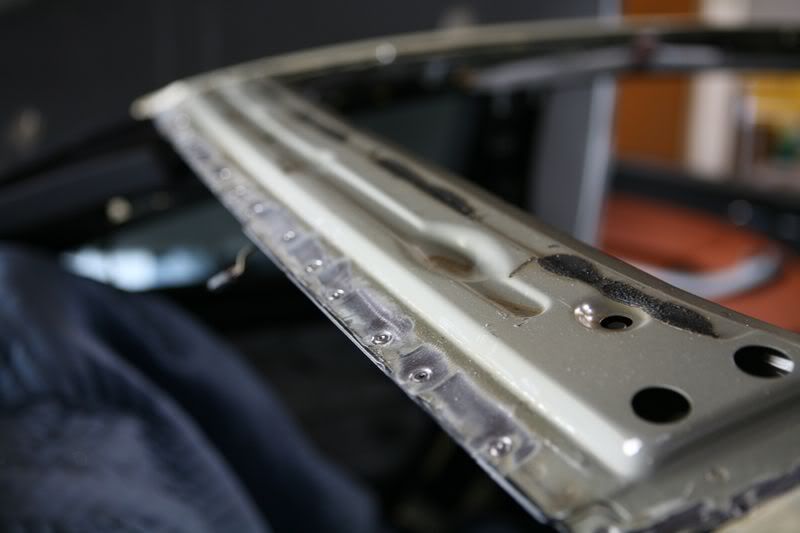
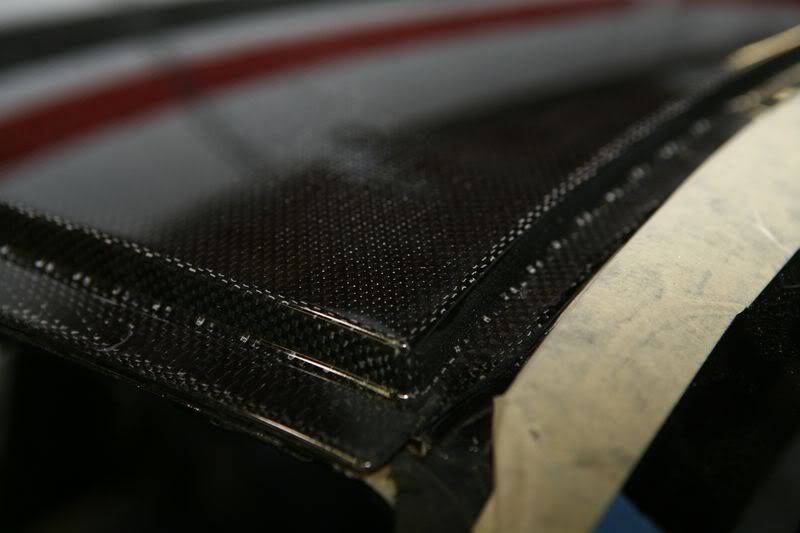
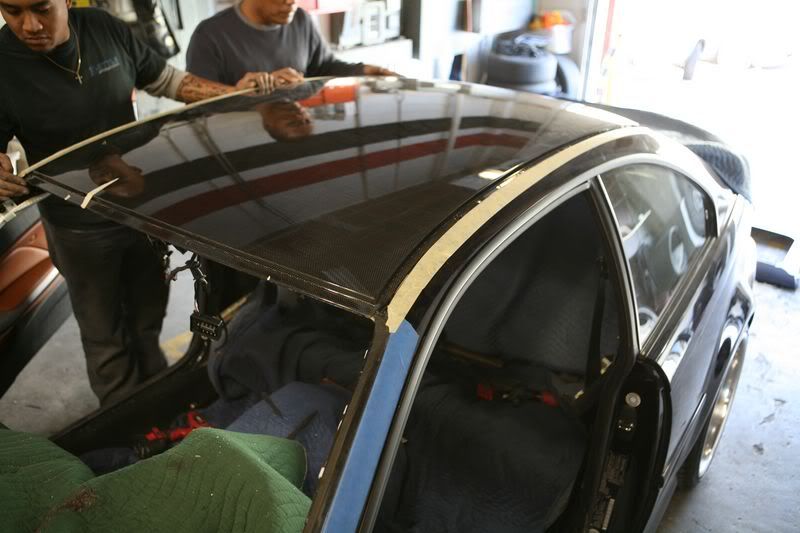
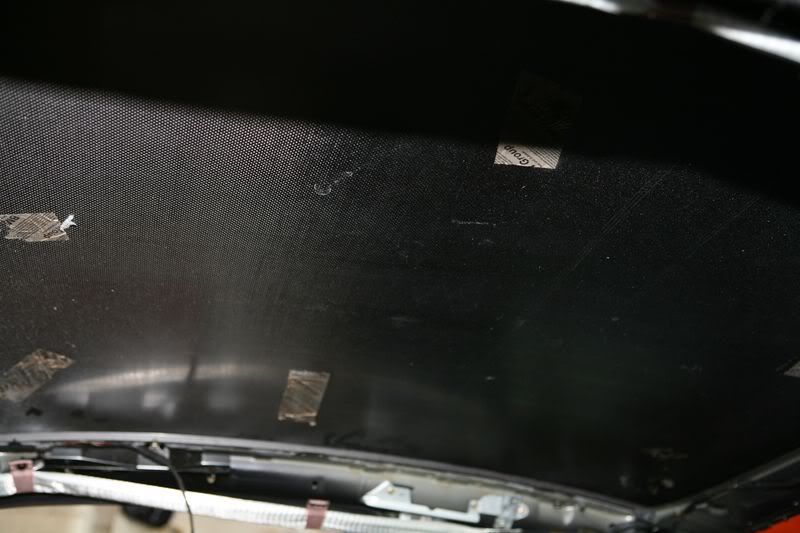
     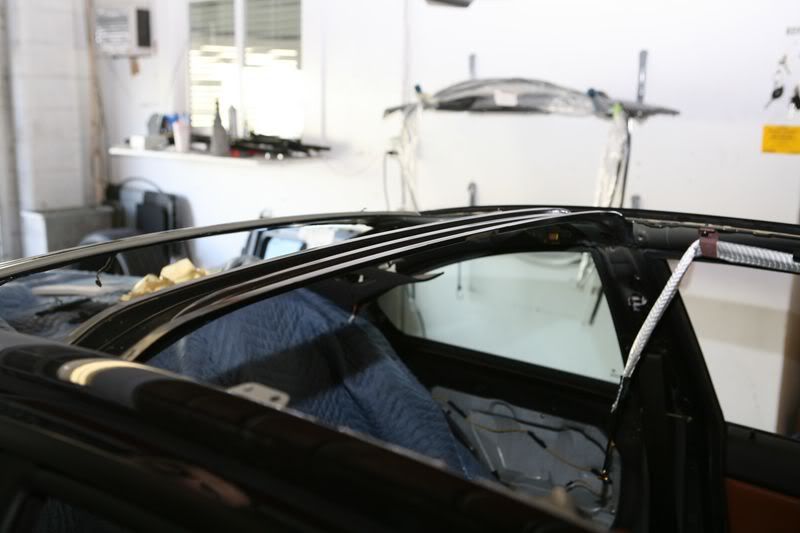 10. It is funny to think that what holds the roof onto the car is mostly glue although I have never seen a glue gun so huge and requiring an air compressor to help pump out this stuff. As you can see the glue is used liberally to cover ALL the edges as well as on the brace itself. Any residue/extra glue is quickly removed. There is a window of about 45 minutes to get the roof on before the glue begins to set. 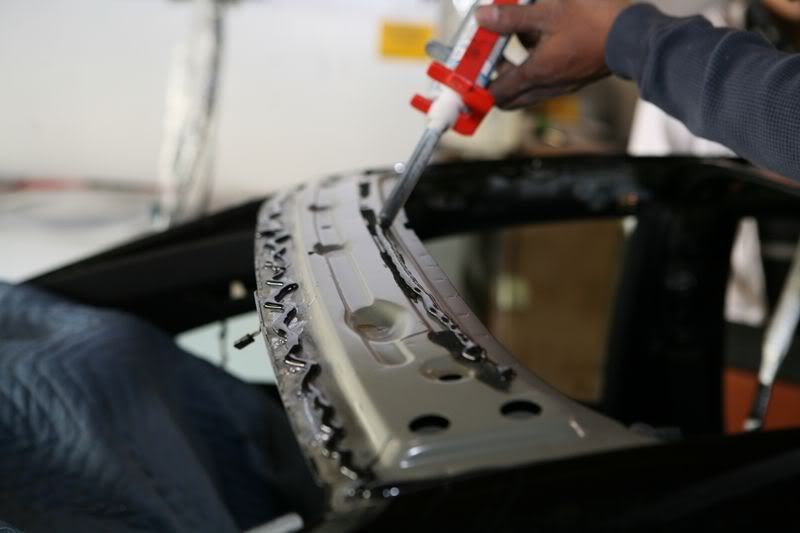 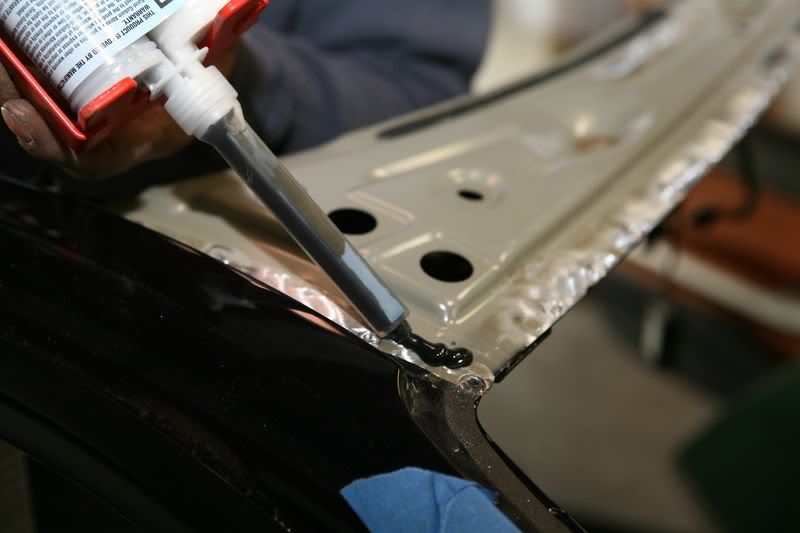 11. Once all the glue is in place the CSL Roof is again fitted onto the top of the car and clamps are used to hold the roof down. 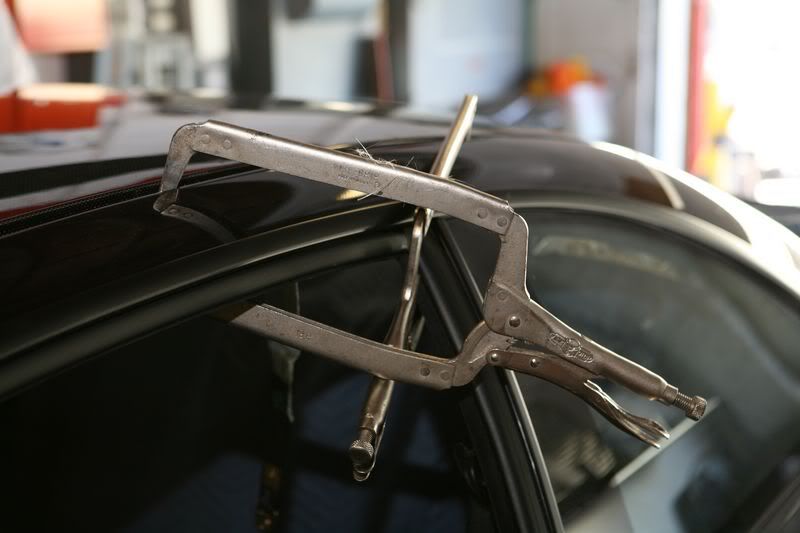 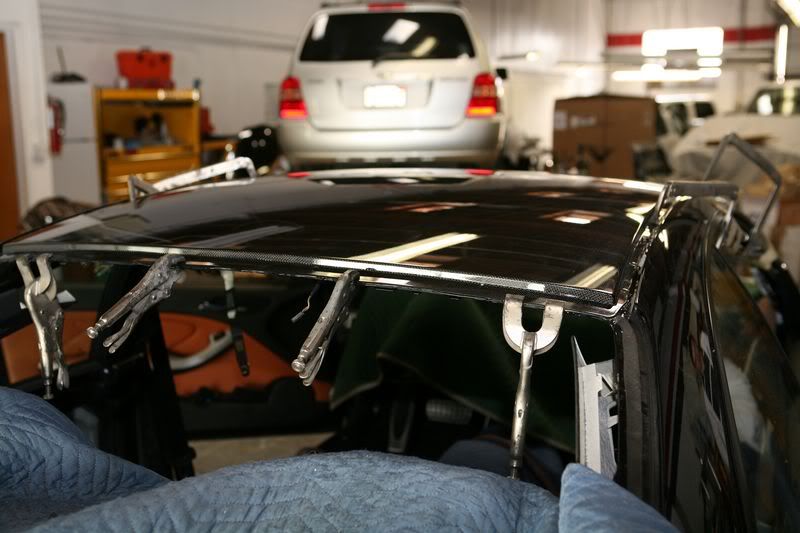   12. The glue is allowed to set for 24 hours and the final steps are to put on the front and rear OEM CSL Roof Insulation Material (Front Part #51488229733, Rear Part #51488229734), the new CSL headliner (just a regular headliner without sunroof cut out- Part #51447124314 see pic below), and putting back the interior. 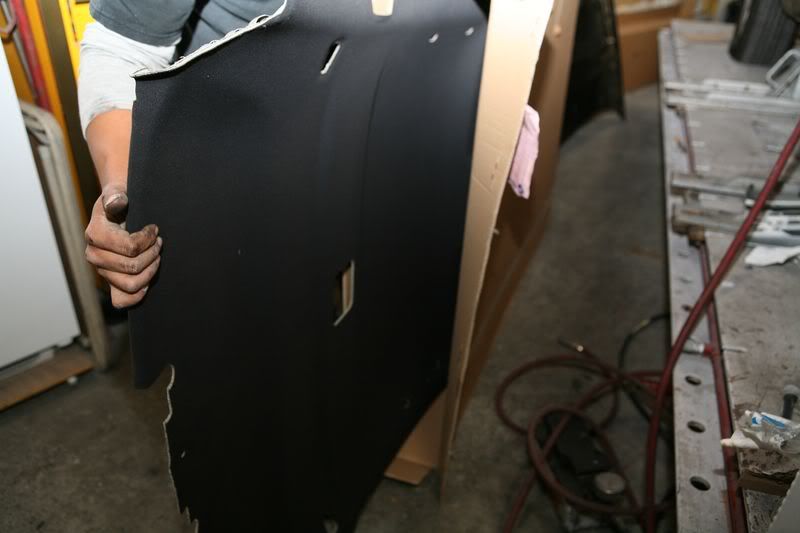
|
|

|

|
|
24-02-2009, 11:09 PM
|
#2 |
|
S6, Sport On, Traction Off
Join Date: Jun 2008
Location: Shropshire
Posts: 1,505
Casino cash: $10726 |
Good write up!
Did the same with my Evo 9 and had a carbon rood fitted! |
|
|
|
|
25-02-2009, 08:10 AM
|
#3 |
|
CSL Register Uber-poster!
Join Date: Apr 2008
Location: Shaboogling
Posts: 7,198
Casino cash: $28466  |
 Yup , I have this part now if any one wants it 
__________________
 CSL Register Lifestyle Coach and Social Secretary |
|
|
|
|
25-02-2009, 04:51 PM
|
#4 |
|
CSL Register Uber-poster!
Join Date: Sep 2007
Location: Scotland
Posts: 8,777
Casino cash: $42229 |
Sell it on ebay daz

|
|
|
|
 |
|
|


 Linear Mode

