 03-04-2010, 08:02 PM
|
#11 |
|
S5 - Full Throttle

Join Date: Jun 2009
Location: Guisborough
Posts: 453
Casino cash: $4472  |
Believe it or not, I'm a very impatient person and sometimes have to just walk away for a break before I end up resorting to a petrol can and a match lol.
Very small update; Ball joint idea worked a treat, first two pictures show the E30 ball joint lined up in the wishbone ready to be pressed in and the last two show the ball joint all pressed in and functional. Sat side by side with a normal un-craigified wishbone the height and thread length all match up perfectly, job well done if I do say so myself. 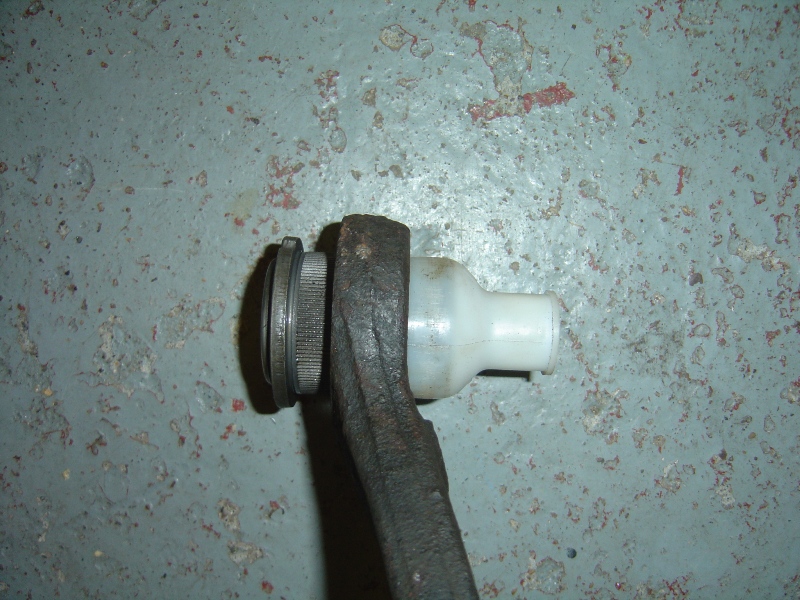 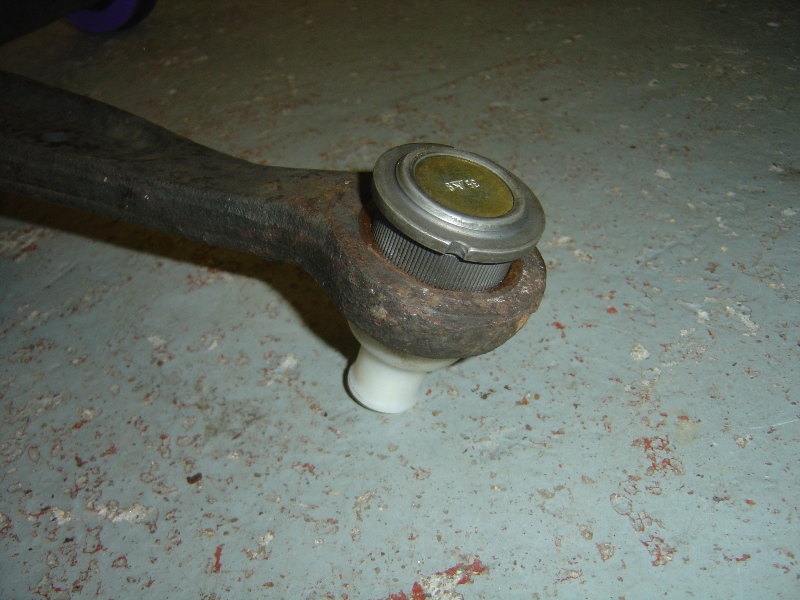 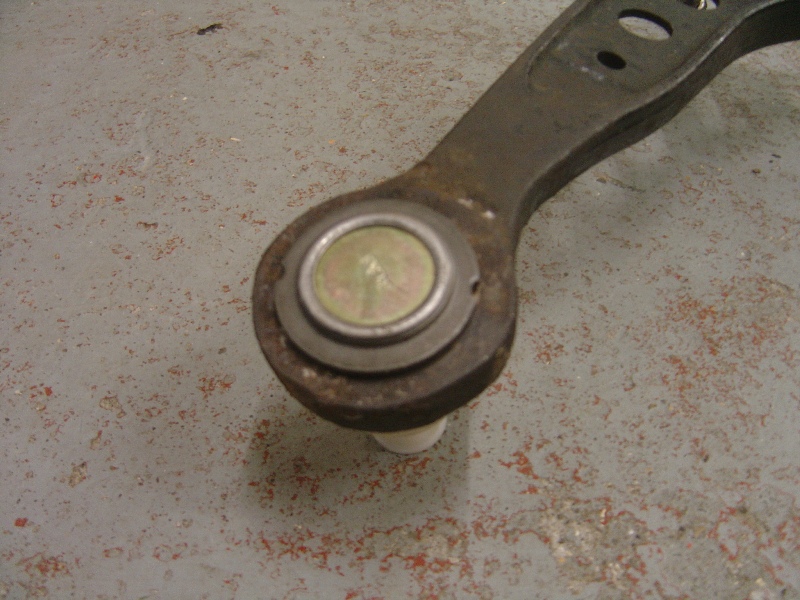 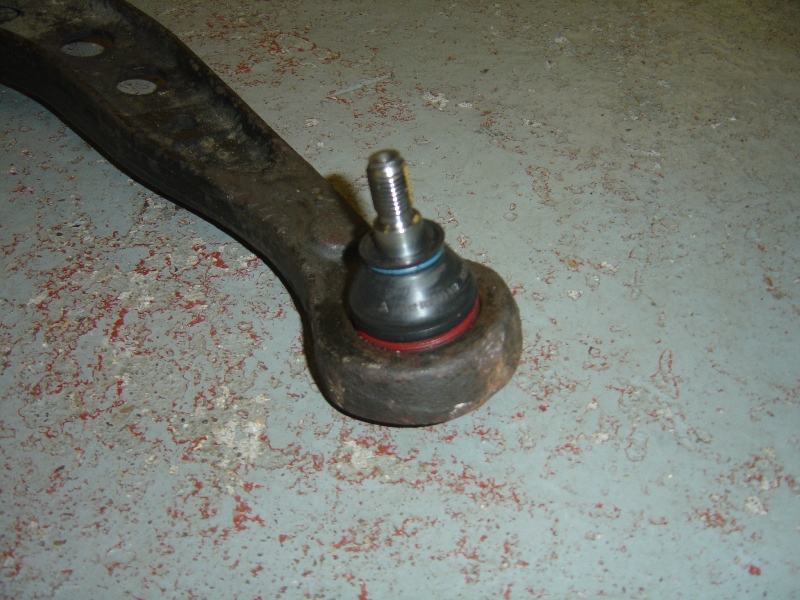 Also had an hour spare yesterday so checked everything would come apart, all seems fine but the inner ball joint looks like it’s going to need a gentle bit of persuasion and a normal ball joint splitter won’t suffice. So picked up this little beauty, a ball joint fork it should do the trick! 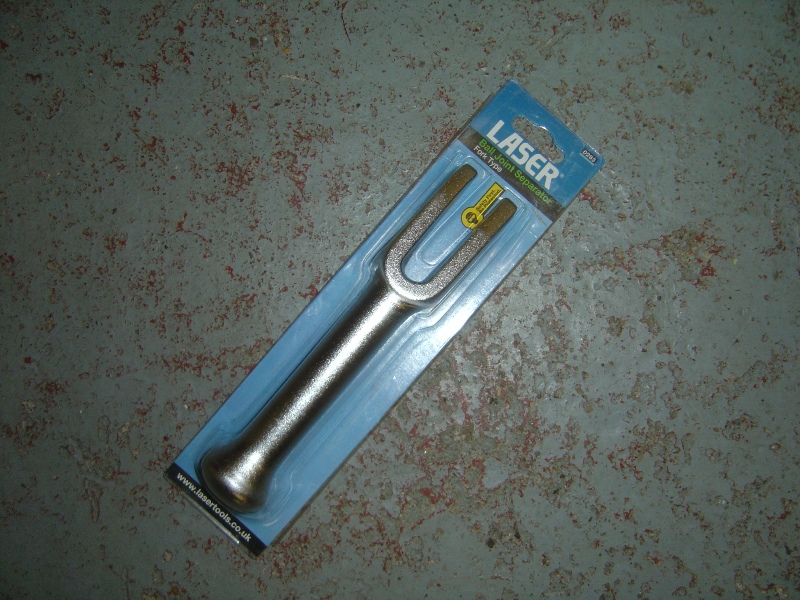 Hopefully I’ll be posting here on Wednesday saying how the front end work is complete and the car’s all set for Germany on the 16th of April. |

|

|
|
03-04-2010, 11:48 PM
|
#12 |
|
CSL Register Uber-poster!
  
Join Date: Apr 2008
Location: Herefordshire
Posts: 4,374
Casino cash: $8572 |
Good work Craig.
 Look forward to meeting you and the car in a couple of weeks. Look forward to meeting you and the car in a couple of weeks.
__________________
 CSL Register Alcoholics Anonymous Group Leader & Businessman of the Year '93! www.earleyengineering.com |
|
|
|
|
07-04-2010, 10:32 PM
|
#13 |
|
S5 - Full Throttle
Join Date: Jun 2009
Location: Guisborough
Posts: 453
Casino cash: $4472 |
Woohoo, as planned today was the day and all the front end work has been carried out. Of course it wouldn’t be modifying without the dramas of incorrect fitting parts and having to use your noggin to overcome small problems.
First started by getting the car up in the air and making it secure, then sprayed everything that needed to be freed off with WD40. Everything came apart with ease, brake unions cracked straight away and the ball joint fork was a god send and made splitting the inner ball joint a doddle. Normal ball joint splitter on the tie rod end ball joint, and a range of sockets and all the parts were off within an hour. Here’s everything fitted and working as it should be; 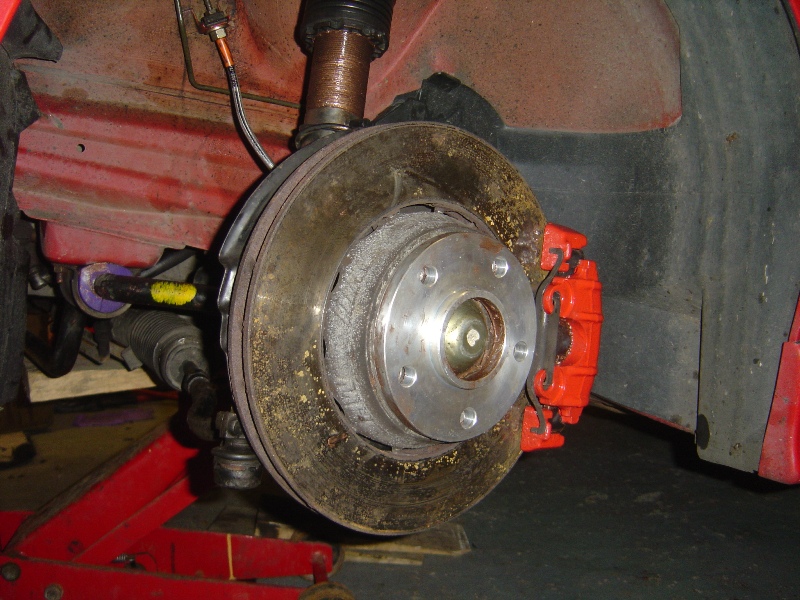 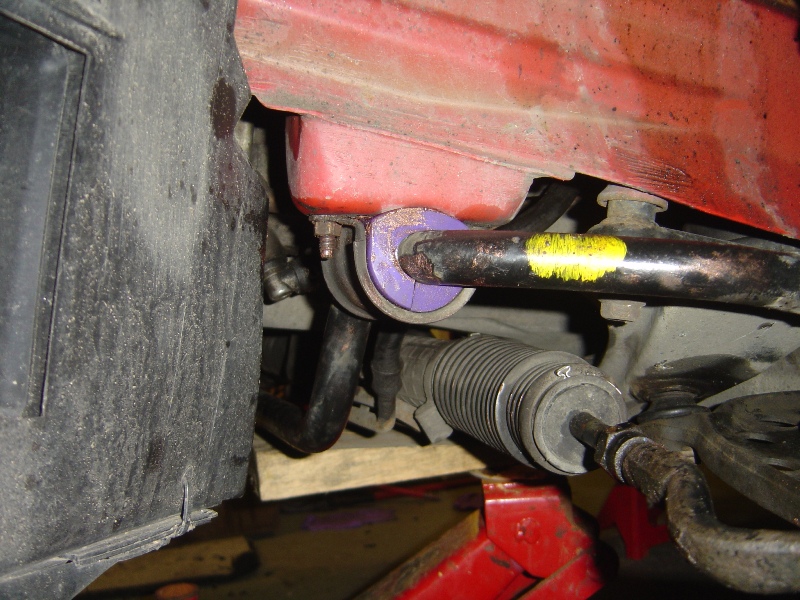 Powerflex front anti-roll bar bushes in place, the 328i Sport requires a 25mm bush and it only took a few minutes to fit, much easier than fitting the rear’s as they were a really tight fit, in fact a little too tight. 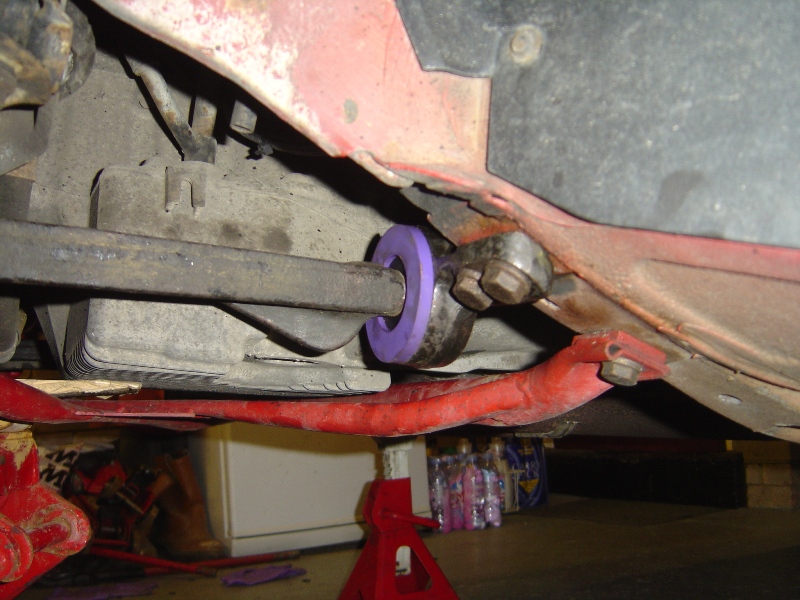 Concentric Powerflex rear wishbone bushes to suit the M3 3.2 Evo wishbones... again really easy to fit, fits nice and tight however no presses were required and it all lined up fit without any adjustments needed anywhere. 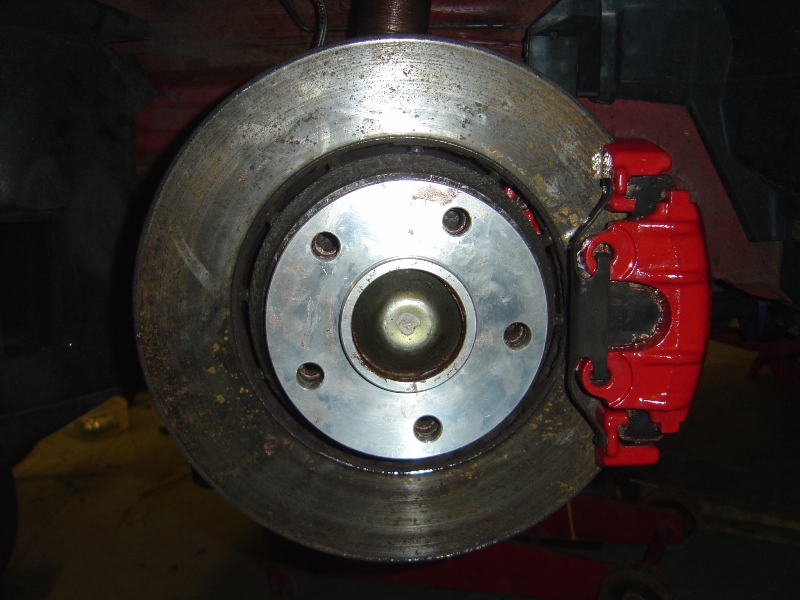 M3 3.2 Evo front brakes with floating discs, also 10mm hub-centric spacers. This is where the problems arose, the spacers although nicely machined were not perfect, the inner bore that sits onto the hub lug had been machined 2mm too short causing a gap between the spacer and hub face. A trip to Halfords to get some emergency 9mm spacers (needed to clear the coilovers) paid off as they had some 3mm spacers on the shelf which fit fine behind the spacers causing a tight fit and also still retaining the use of the hub-centric lug. Not ideal but it’ll have to do, next I’ll look into getting some 12mm spacers. I also found out I need even longer bolts, I ordered 35mm thread length but due to the extra 3mm spacer I’m going to have to find some 38~40mm bolts tomorrow. 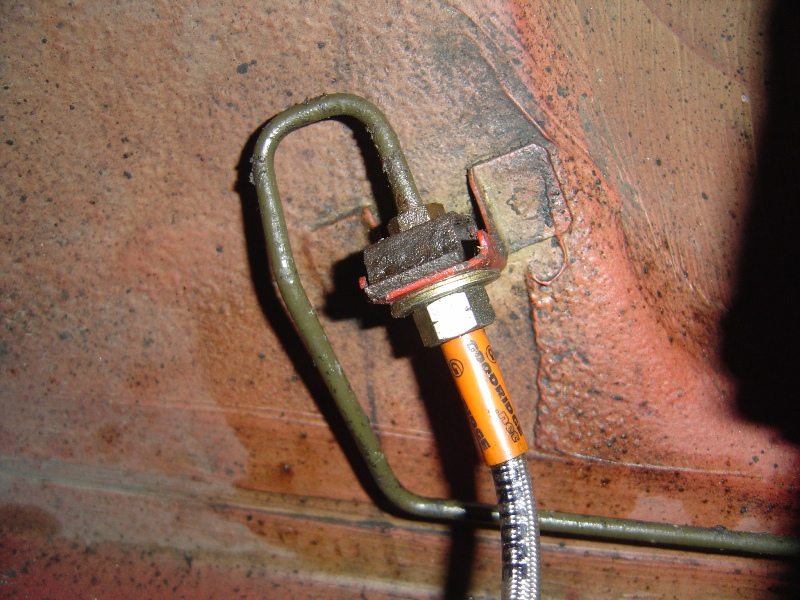 Goodridge braided front brake lines in place, I used the existing rubber brake line bung to secure the brake line to the strut like OEM fitment. Also a big thanks to my friend James for helping me bleed the brakes and also provide emergency transport to get to Halfords for the spacers. 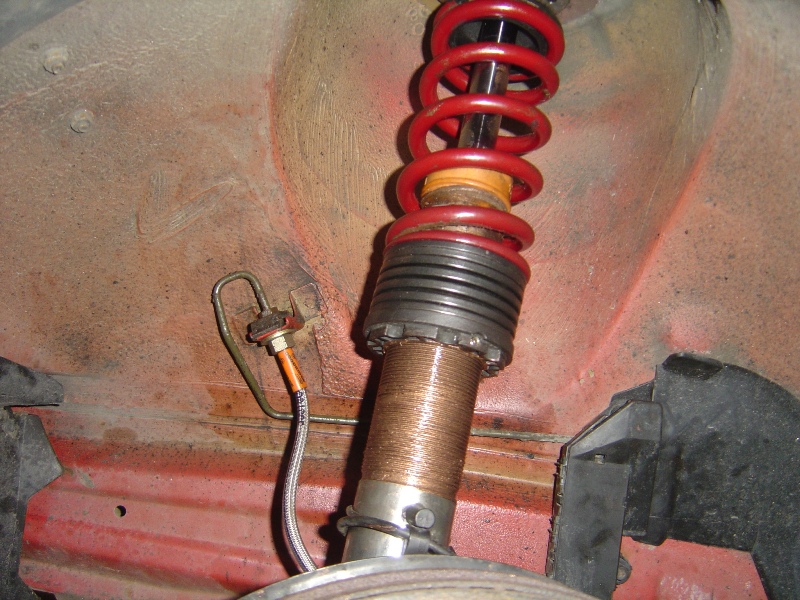 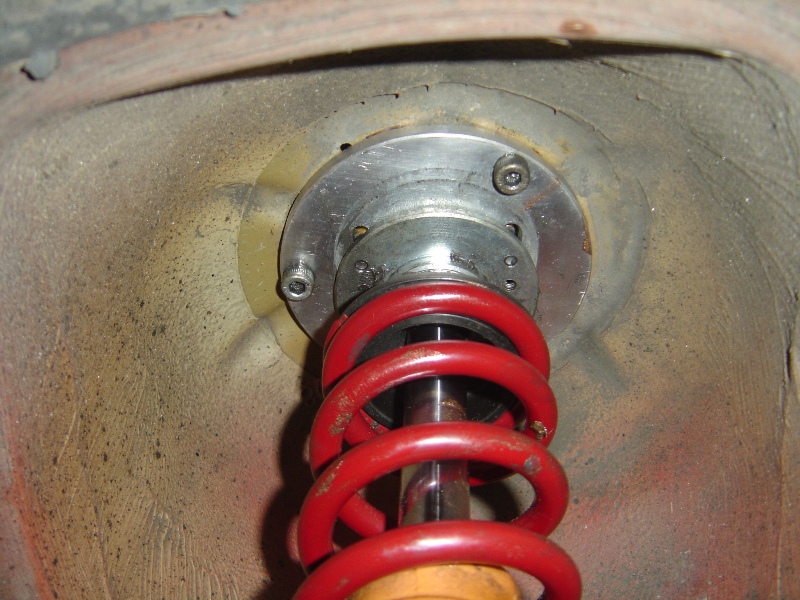 Eibach Pro-Street coilovers in place, let’s hope there up to the job.  Camber adjustable top mounts in position I still have to set the geometry up.  Now coming from a M3 CSL something was lacking from the 6 pots engine tone, it needed a bit of induction noise and the DaveF filter did the trick. OK it’s not as aggressive sounding as the CSL, but it gives a great tone and brings out the true induction noise of the M52B28 engine. 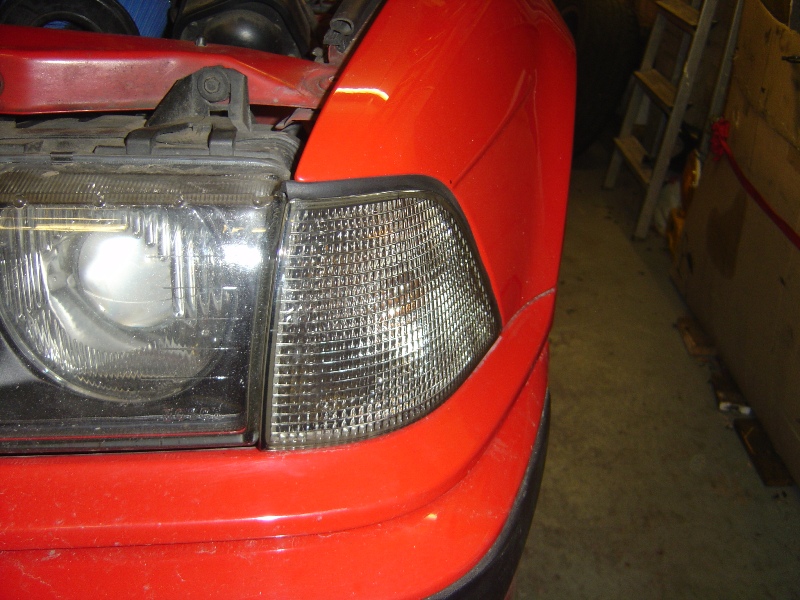 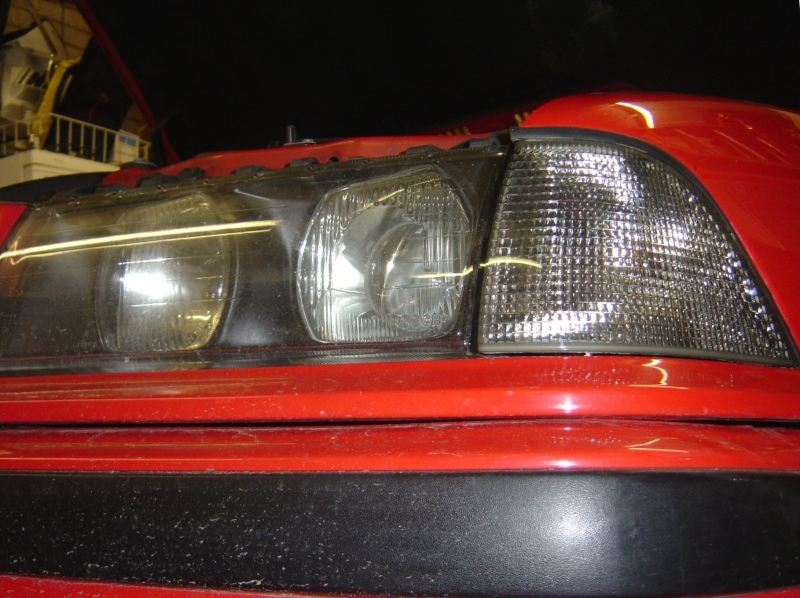 After spending hours staring at the car in the works car park I decided it needed something, I just couldn’t put my finger on what it was then it hit me, the front lights are very dark inside however the clear indicators although much better than tango units just stuck out a little too much. I decided it needed some smoked corner indicators so tracked down some Auto-Lamp lenses. The fit is good, it’s not OEM perfect but as far as aftermarket indicators go there fine and will tie in nicely with the red and black theme going on. Next up is to set the geometry, I’m going to just set it up roughly for the moment but hopefully on Saturday will be able to spend some time setting the camber and toe up ready to hit the track. |
|
|
|
|
11-04-2010, 10:52 PM
|
#14 |
|
S5 - Full Throttle
Join Date: Jun 2009
Location: Guisborough
Posts: 453
Casino cash: $4472 |
Well I managed to spend a few days playing about on the car doing some finishing touches and generally giving it a good once over. First off came the painting of the grills and rear badges, I like to try things different so instead of the usual satin black I thought I would give gloss black ago, the idea behind it is everything that was chrome will now be gloss black. Excuse the bug splatter haven’t got round to cleaning the car this week.
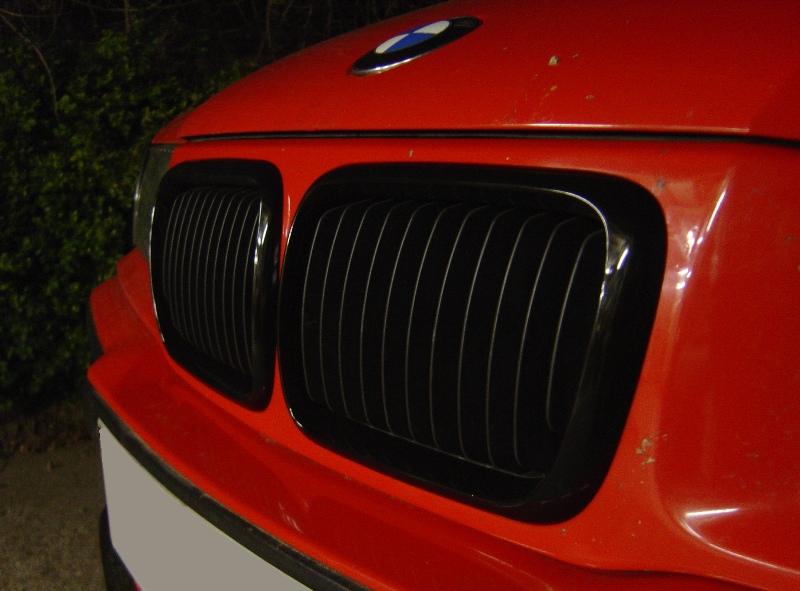  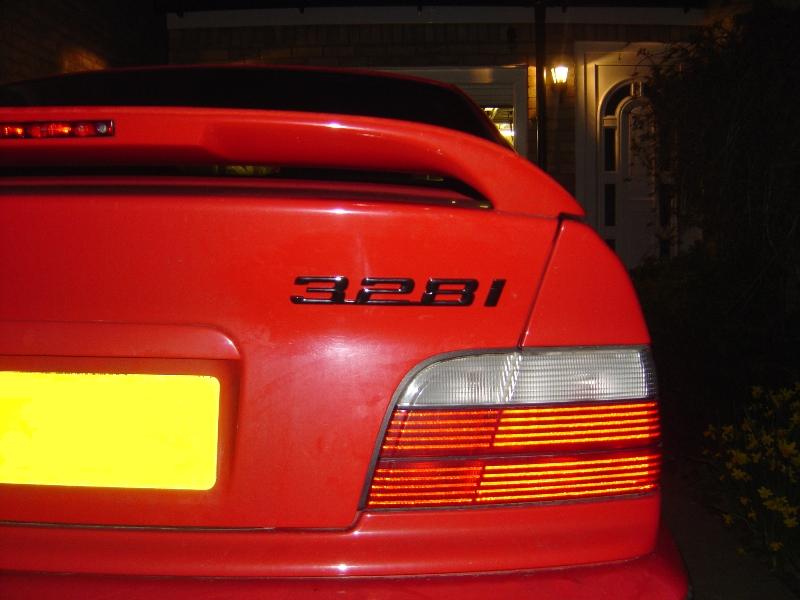 If I’m honest, I’m not convinced on the look however I’ll leave it for the time being and see if it grows on me, the kidney’s look OK however the rear badge just doesn’t look right at times, maybe black on a darker colour might have gave the effect I was looking for, I also think it clashes with the silver chrome details on the rear BMW roundel. Next up was to tidy the garage and gather up the old front end parts, needed to make room for the possibilities of doing the geometry in the garage if the weather didn’t hold out. 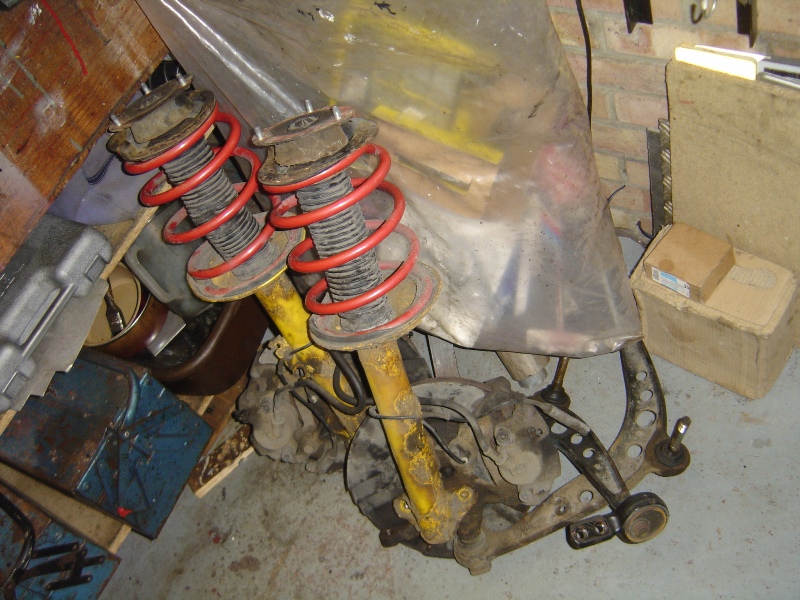 Fortunately for me if I don’t have the equipment my friends do, and they were ever so kind to lend me these alignment gauges. First been a Dunlop optical alignment gauge for setting the toe, the other a camber gauge. 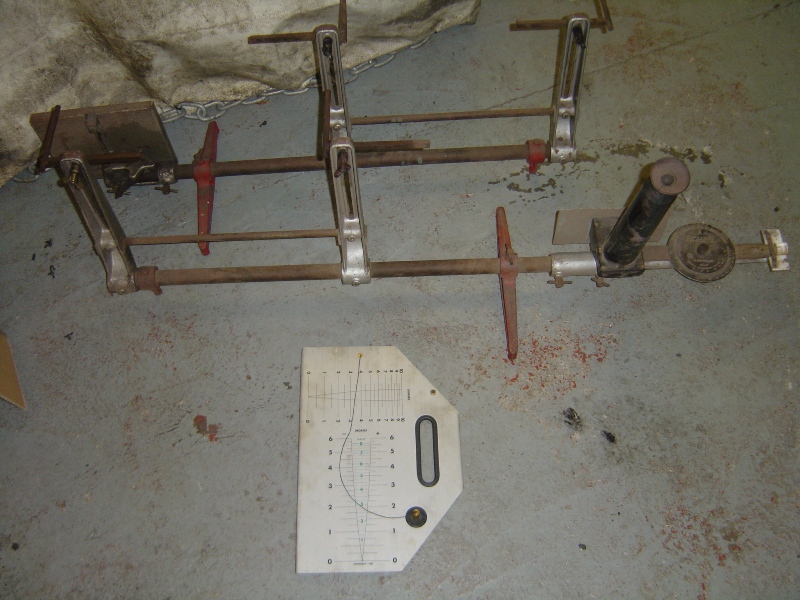 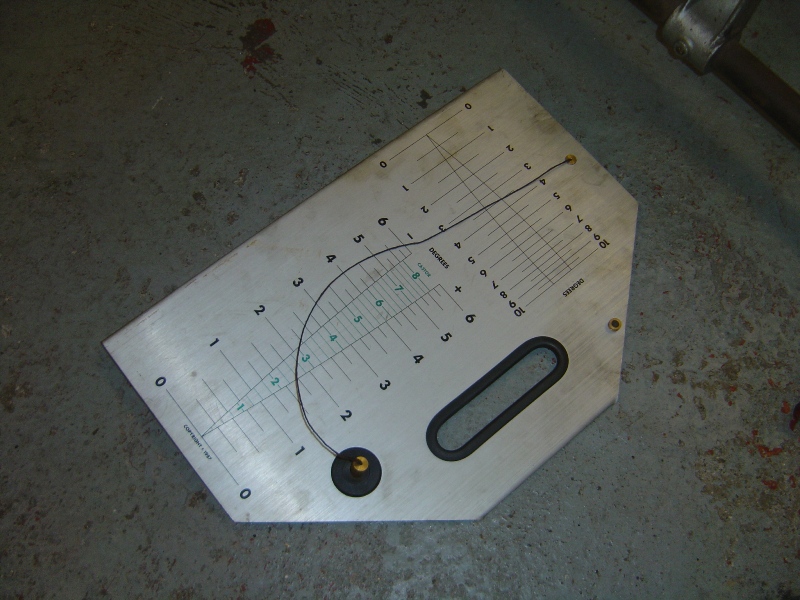 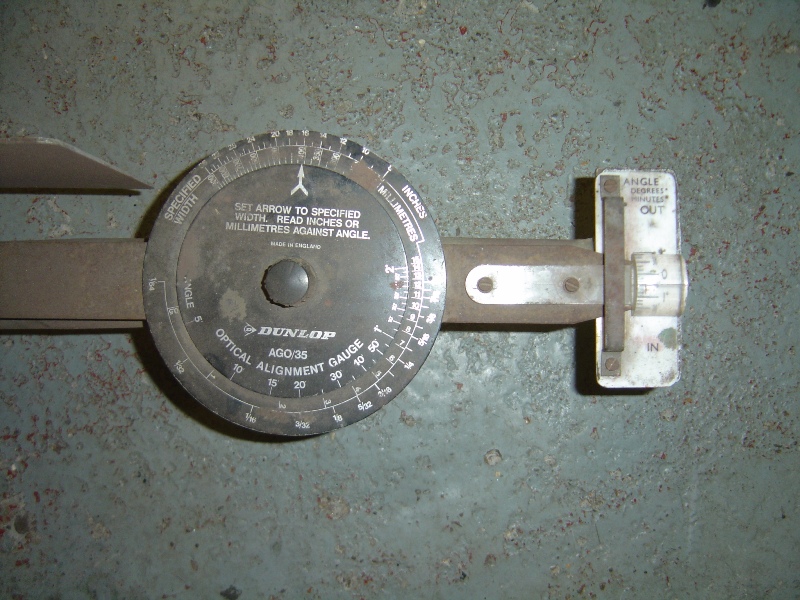 I didn’t get any pictures of the process, but to start with I balanced up the suspension height all round, setting it at 305mm wheel centre to arch at the rear, and 320mm wheel centre to arch at the front. Once the height was set I took it for a test drive to let the suspension settle itself and then double checked the measurements. Next up was the camber, at the rear this was set to -1.5 degrees and at the front -2.5 was dialled in, the adjustable top mounts really did make it easy to set the camber. Once the camber was set we could then move onto the toe; remember to set camber before toe. The rear toe was pretty much spot on, a small bit of toe in which would be fine. Next was the front, at first this was toe’ing out heavily, once I’d managed to free off the track rod ends I then set about balancing both sides up by eye to give 0.0 toe. A quick test drive and the car really has been transformed over these last few weeks, but there was a little dead spot in the steering suggesting toe out was still present. Got back and set the toe properly using the optical alignment gauge, ended up setting it at 0.5 degree of toe in. Final test drive and the car is now perfect, I’m really happy with how it drives and for the first time in weeks am looking forward to getting it out on track. Between now and this Friday there maybe a little update with the latest tyre choice and maybe one of two other track enhancements but until then it’s all set for next weekend, the deadline I keep going on, and on about. Once back from Germany I’ll then start to plan the interior and get to work on that, more on that subject at a later date..... |
|
|
|
|
12-04-2010, 11:31 AM
|
#15 |
|
CSL Register Uber-poster!

Join Date: Sep 2009
Location: Olney, Bucks
Posts: 3,735
Casino cash: $9984 |
Well done Craig, cracking job mate, wish I had the time to do similar, maybe one day !
__________________
" I use Gleaming Kleen.... for that new car look " I wish I had used - Race Data Systems - Motorsport Data Loggers forgive me Nathan ! 
|
|
|
|
|
12-04-2010, 03:10 PM
|
#16 |
|
Driving it like I nicked it
Join Date: Aug 2008
Location: Everywhere.
Posts: 2,540
Casino cash: $12738 |
Great project and write up
Wish i had your know how..... |
|
|
|
|
12-04-2010, 07:02 PM
|
#17 |
|
Driving it like I nicked it

Join Date: Nov 2009
Posts: 2,058
Casino cash: $6689 |
I really like the look from the front now mate, perfect!

__________________

|
|
|
|
|
12-04-2010, 07:44 PM
|
#18 |
|
S5 - Full Throttle
Join Date: Jun 2009
Location: Guisborough
Posts: 453
Casino cash: $4472 |
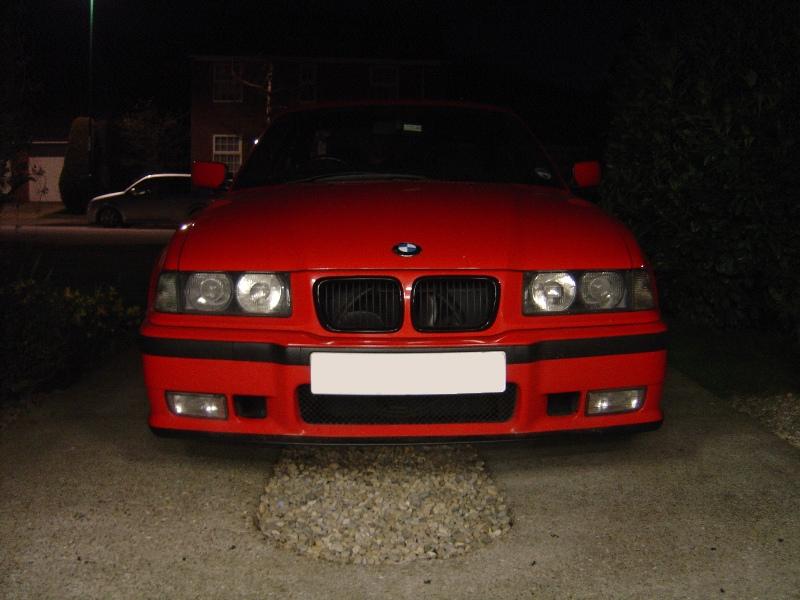
Yeh, dropped the fog lights earlier and it now looks a lot more aggressive.
The drivers wing really, really needs urgent attention and lets the car down but i'll wait till after Germany to fix that, and whilst I'm at it will get some other areas painted... could also do with a good polish, but just havent had the time. With my limited time I figured I'd rather get the suspension / brakes / geometery right than making it look perfect. |
|
|
|
|
12-04-2010, 09:00 PM
|
#19 | |
|
CSL Register Uber-poster!

Join Date: Feb 2009
Location: warrington
Posts: 5,419
Casino cash: $19783 |
Quote:
Looking good Craig, nice when you do a job start to finish and stop/look and think I done that. Only real way to know the Jobs done right.  Glad you have a focus after your csl misadventure. 
|
|
|
|
|
|
02-05-2010, 05:15 PM
|
#20 |
|
S5 - Full Throttle
Join Date: Jun 2009
Location: Guisborough
Posts: 453
Casino cash: $4472 |
Well I made the deadline, only just mind and with quite a few minor incidents along the way. However there is a few shock instalments to this update that I bet no one (me included) was expecting.
First shock update is the interior, although this is a temporary measure I really didn’t expect to have the time to make the seat sub-frames let alone get it all fitted and functional. It started a few days before departure for Rotterdam, a friend and I were sat staring at his current project; a Pegueot 306 Rally track car, which he’d just bought some new seats for. So surplus to his requirements were these seats; 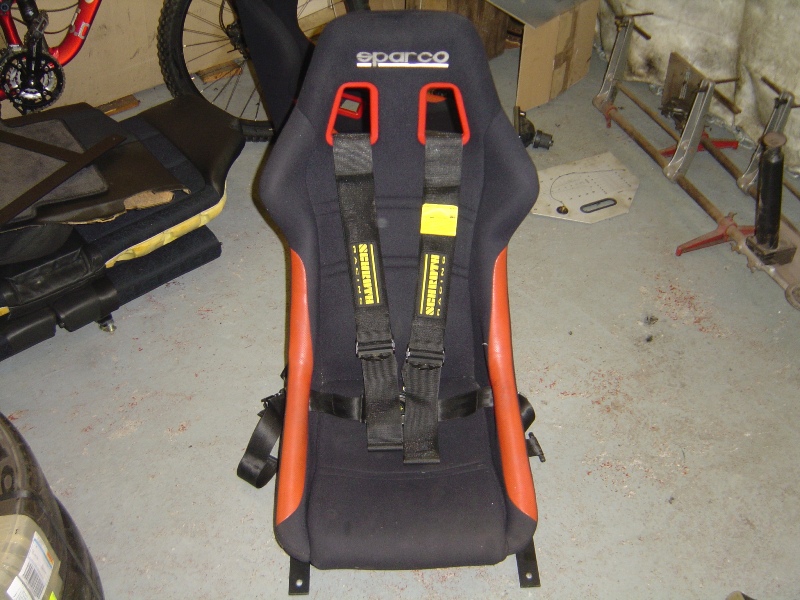 They are Sparco Sprint seats, not the world’s most elusive set of sports seats but they’d certainly do a better job of holding me in than the current OEM 328i Sport seats. One thing that was noted is that they have a strung base and are not hard backed. This actually made them really comfortable for long journeys and was a huge relief from the normal pain and discomfort endured for hundreds of miles. First up once the standard seats was removed was to work out how we were going to make the seat sub-frames. We decided to stick to a basic 5mm flat bar steel square frame which would incorporate the factory mounting points, and we would later space the seat to the correct height. 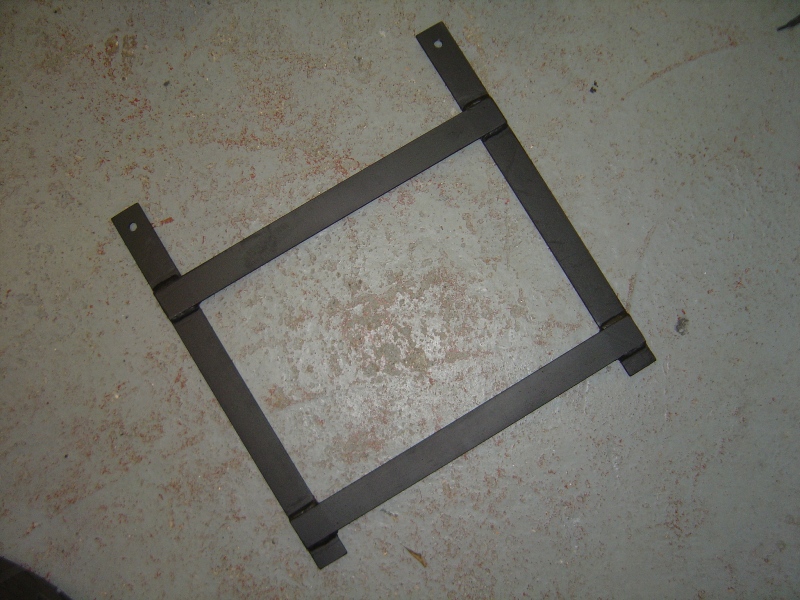 Once the frame shape was made and welded up the holes were drilled and the frames painted satin black. The above frame as you can see is not quiet finished, there was four holes drilled from the frame to floor mounting, and a further four for the frame to seat mounting points. 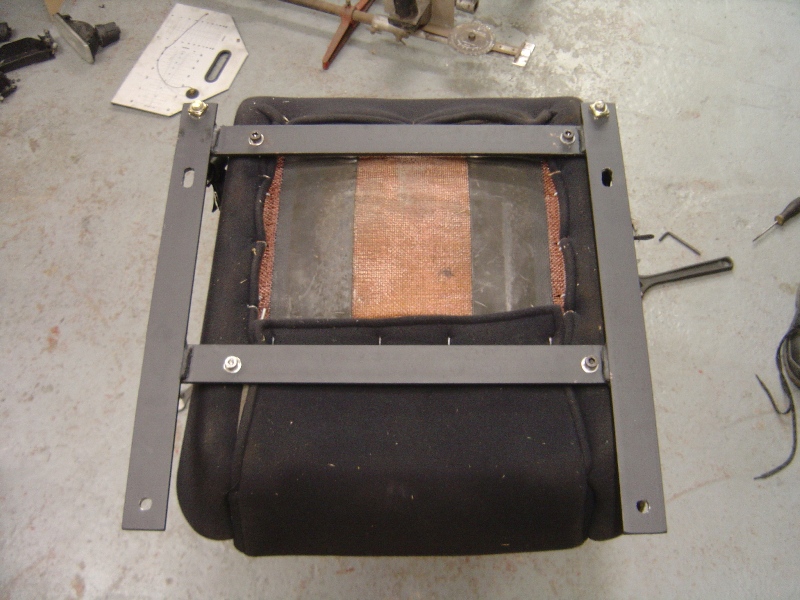 It’s worth noting that the seats are off set and should sit as near to the centre tunnel as physically possible, with the passengers frame (above) this wasn’t too essential however on the drivers frame due to the centre position of the steering wheel it is. On the drivers frame (not pictured) the near side seat holes were actually drilled into the flat bar that run from the front to back of the car, due to the lack of space between the frame and carpet to fit nuts and bolts underneath, the welded bar that was now 10mm thick was threaded with an M8 thread. The drivers seat has a sliding runner fitted which was 12mm thick, and it also required a further 25mm of spacing to get the correct height. The passengers seat sits really low, I need to raise this at a later date. Here is the two seats mounted in situ complete with some Schroth Profi-II ASM 4-Point harnesses. 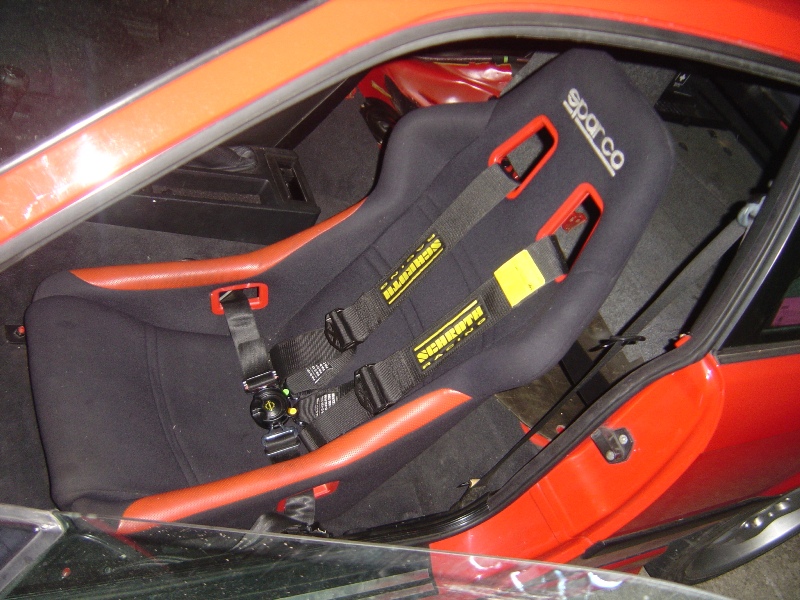 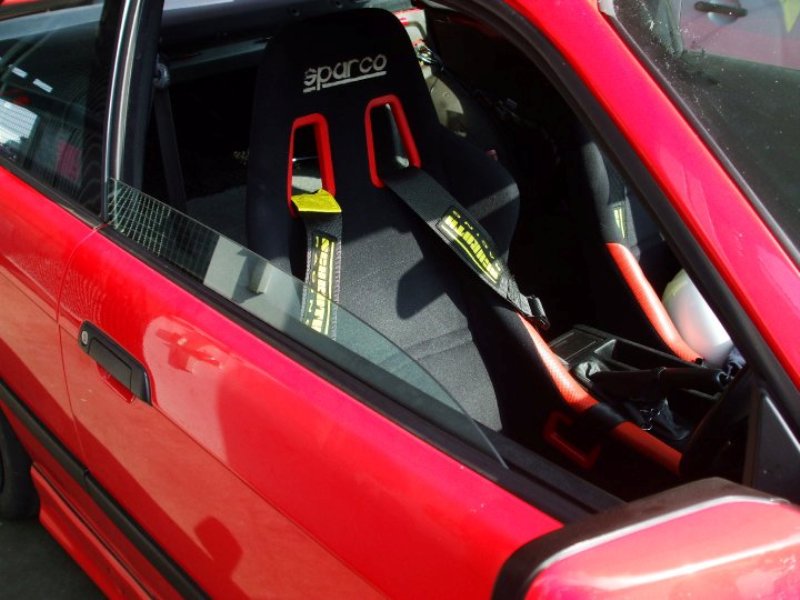 Next up was the tyres, the current Hankook RS2’s were running a little low so decided to fit a fresh set of rubber all round, I couldn’t quite decide what to run but eventually settled on a set of Kumho V70a semi-slick tyres, they are in the same league as R888’s however I had never tried them before so didn’t know what to expect. I went for the usually 225/45/17 and 245/40/17 staggered fitment sizes. 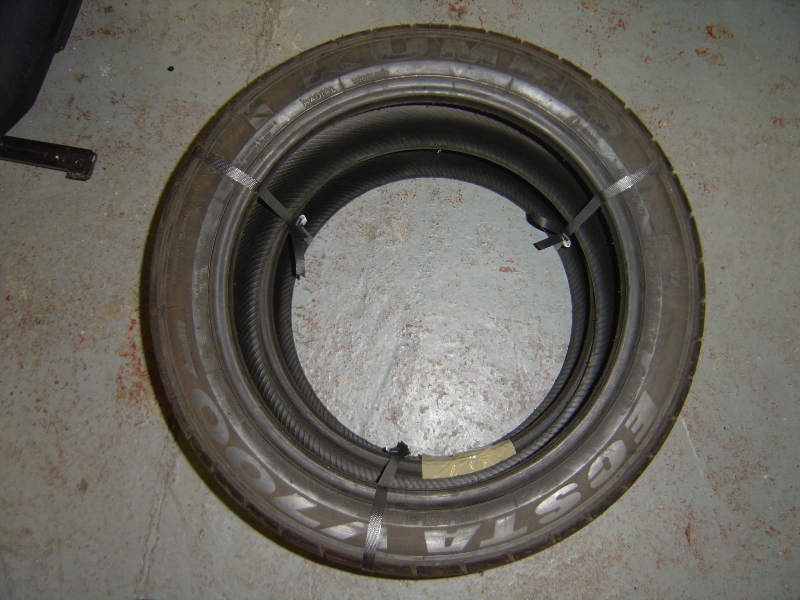 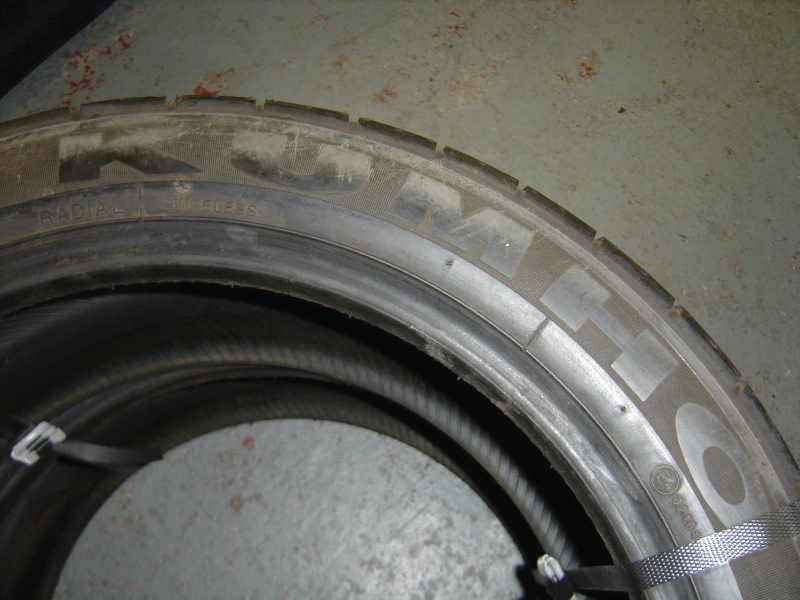 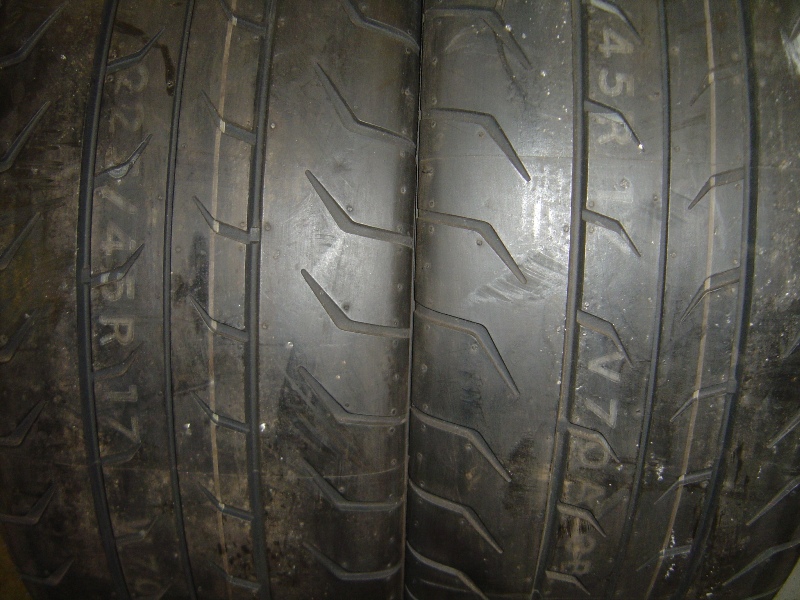 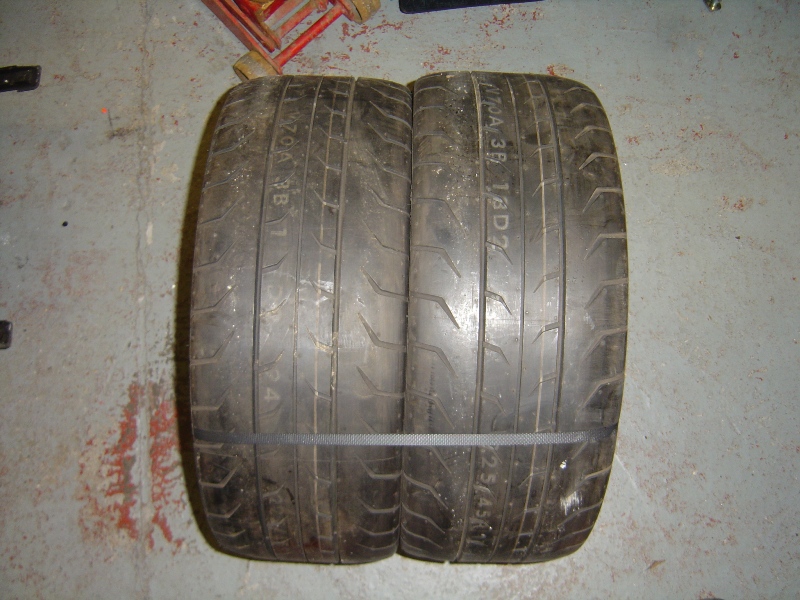 This is where the problems started it was 36 hours before I was due to leave for Germany and I only had 2 front tyres, the rears still hadn’t arrived. I also decided that if I was paying for the tyres to be fitted, I might as well offset the cost and get the wheels re-furbished at the same time, a risky chance that would hopefully pay off. Thursday morning arrived and the rear’s were no where to be seen so I dropped off all 4 wheels and tyres at a local refurb company that is just in the process of setting themselves up. They said they would refurb the wheels and fit and balance my new tyres all within the previously set price, which was great if I had 4 tyres to fit!!!! Stress levels went through the roof during the course of the day, however a phone call at 16:15 to say the rear tyres have arrived brought them back to normal. At 17:30 the car was ready to be collected, I was at work so a friend offered to collect it and bring it home. Looking good if I do say so myself... 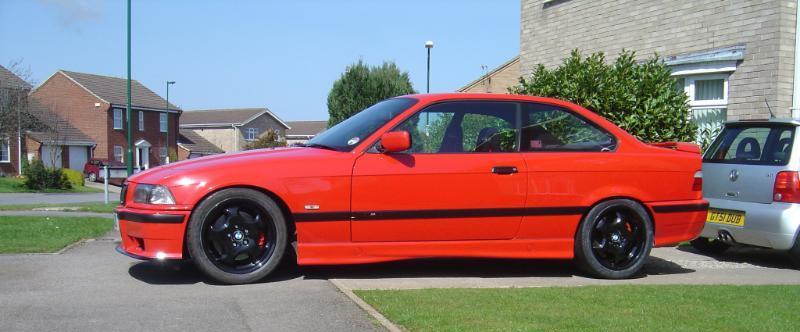 Got home from work and was really happy with how the car had transformed in the space of a month, give the car the final once over ready for the morning, I say morning, I was giving the car the once over at 3am so it already was morning. All was fine until I checked the front wheels, one spacer had been fitted arse over tit (refer to above spacer problems) they has fitted the 10mm first and then the 2mm spacer and proceeded to tighten it right down to the point the hub-centric lug sheared off the spacer. Balls, I had all but a few hours to get this problem sorted, it wasn’t going to happen, or was it.... I placed an urgent plea out for anyone who may know of a set of hub-centric spacers kicking about either in the UK or Germany, or anywhere on route. Fortunately for me Darren Langeveld who was organising the Nurburgring track day (www.destination-nurburgring.com) knew of a place in Coventry who would have some on the shelf, he offered to pick them up on route to the ferry and give them to me on board, so I would have them in time for the track day. Perfect, this was the news that I was waiting for and I could finally relax and enjoy the holiday. Finally boarded the ferry Friday and was on the continent by the morning, stopped by Spa in Belgium to have a nosey round the Porsche Club Francorchamps track day on the Saturday morning and was in Nurburg by later afternoon. I won’t turn this topic into a trip report, there will be a separate topic for this another day. Monday came and the weather was perfect, the car was ready and so was I. The track day was on the full Nordschleife + GP Circuit so it was going to be a good day, here’s a few select pictures from the trip, I do apologise for the quality of some pictures my brothers laptop broke after the trip so all pictures had to be downloaded off the likes of Facebook & Photobucket.  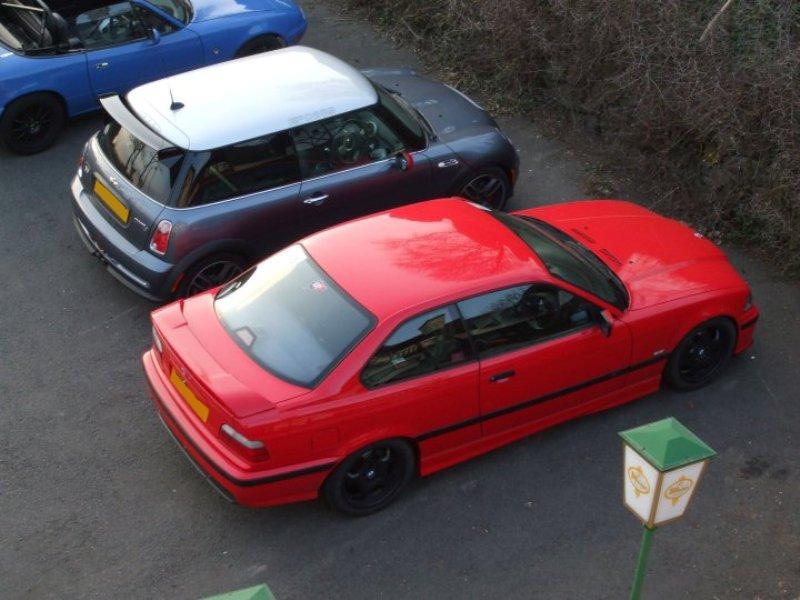 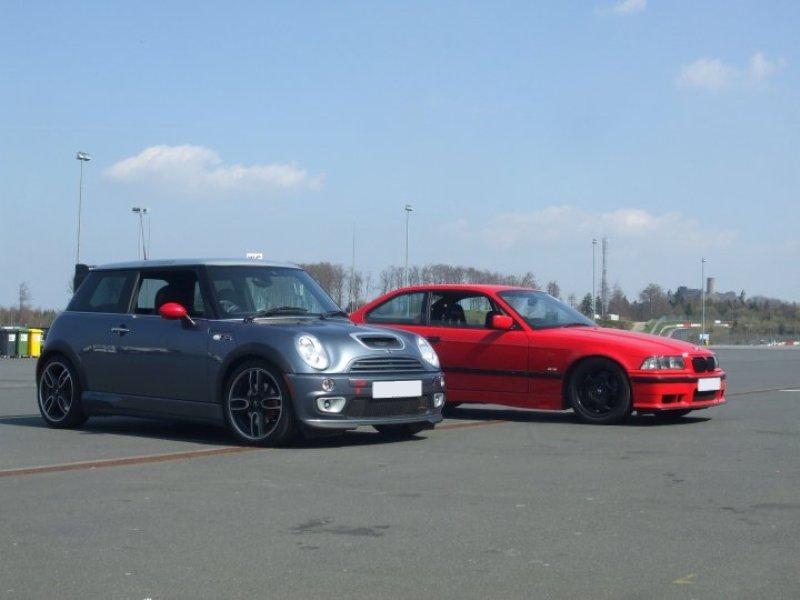 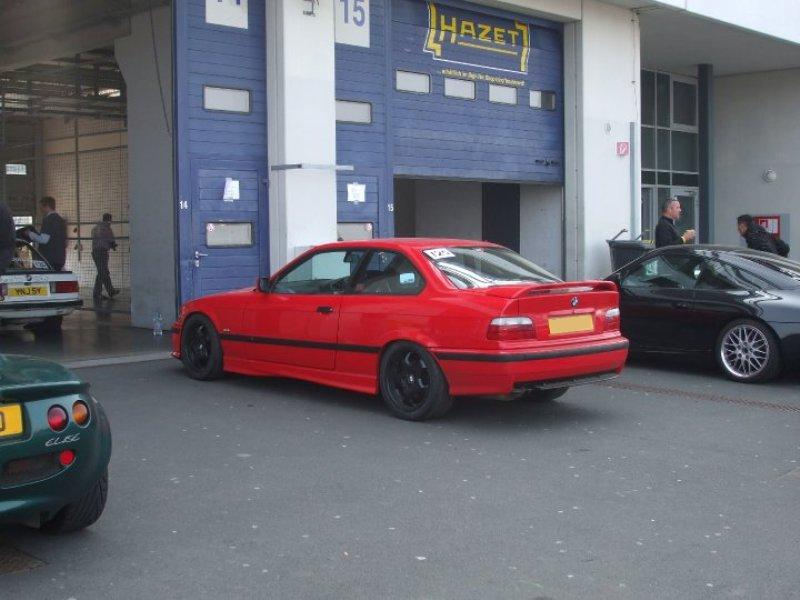 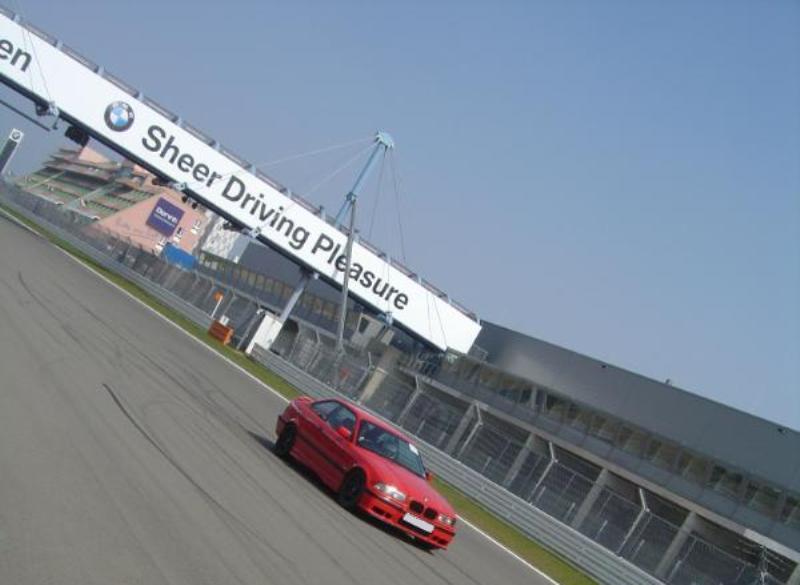 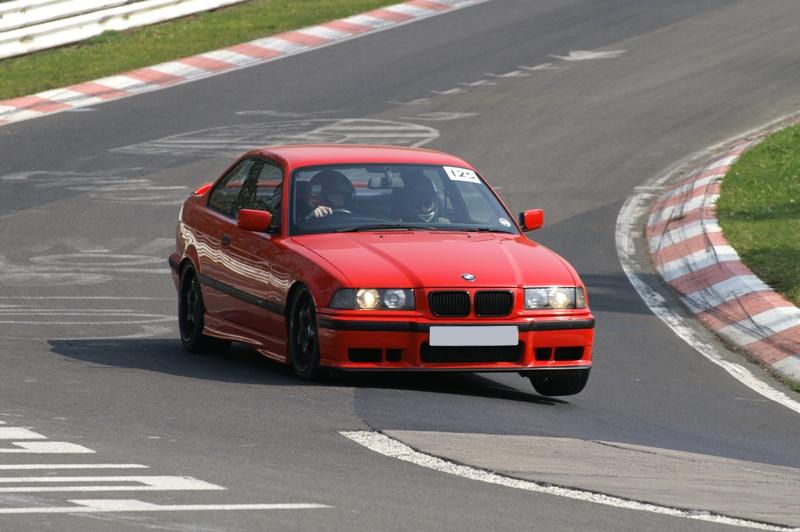 Really am impressed with the car and its set up, after 15 laps at 17.5 miles a lap all was still running fine. The tyres I can really say are worth considering over the R888’s especially with the price difference these days, and the brakes pads which are Mintex 1155 at the front and 1144 at the rear really do work well with the M3 Evo callipers and discs. Since getting back I’ve give the car a once over and the only problem to report is one of the lower rear trailing arm ball joints has a small bit of play in it, this is the same joint I was suspected of it having a minute bit of play before I left for Germany anyway, so there’s no shocks there. I’m going to replace the ball joint and use the car for the next few months as it is, will concentrate on taking a bit of weight out of the car and also decide what the final plans will be. Hope you’re still awake after reading all the above! :P |
|
|
|
 |
|
|


 Linear Mode

