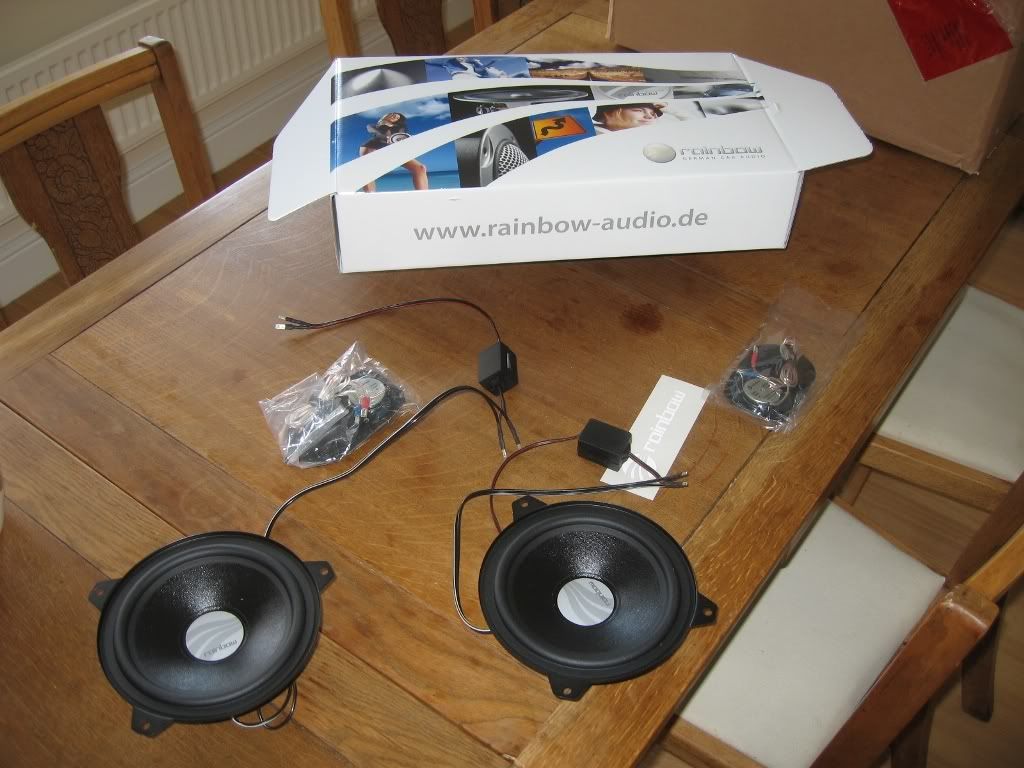
So onto the front speakers – replacement of OEM 6.5” mid/bass drivers and tweeters with Rainbow IQ-line components. This install differs from the rear install as it makes use of the full crossover capability of the Rainbow kit.
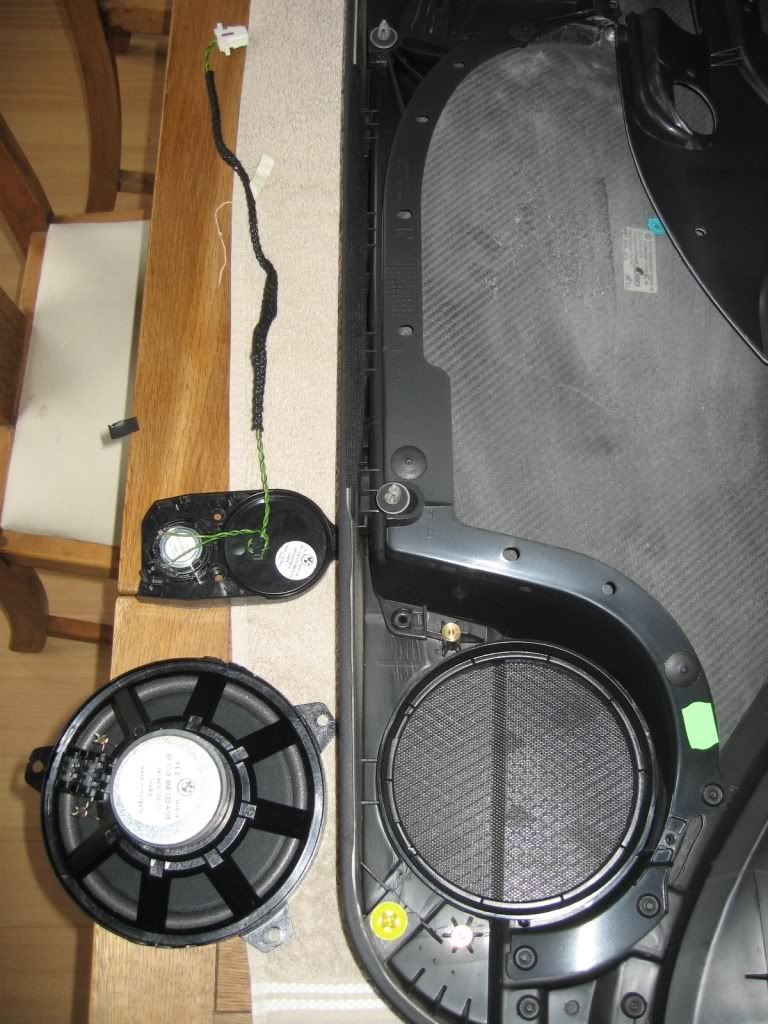
Same starting point – new components.
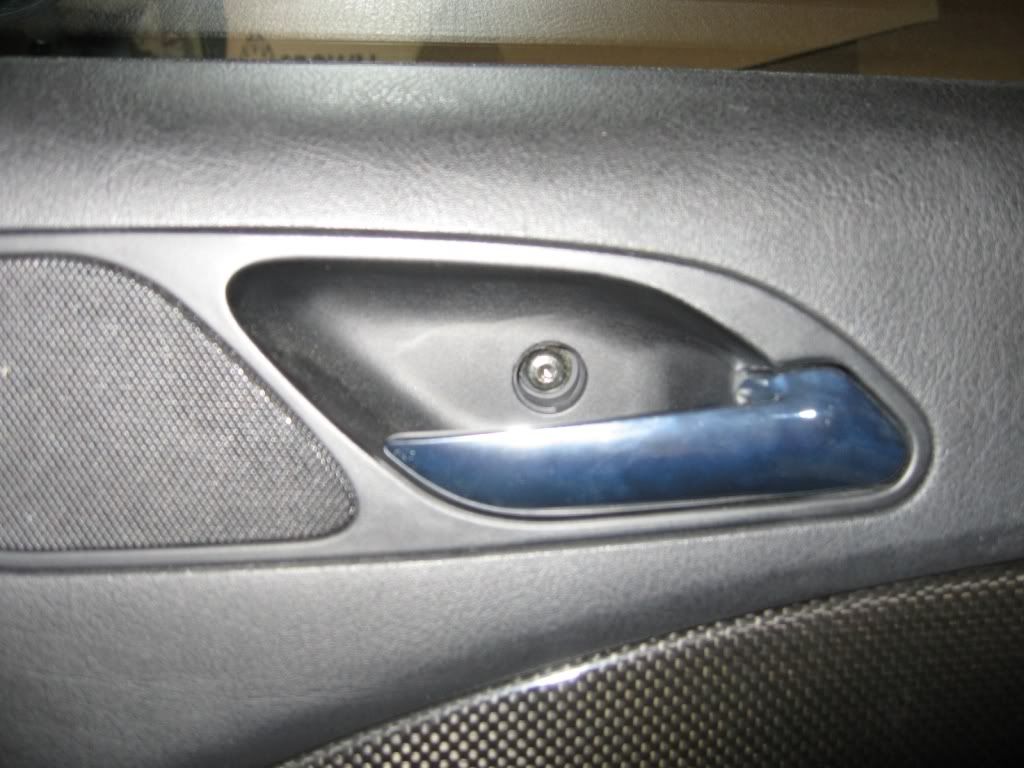
I was a bit apprehensive about messing around with the door cards – but here goes.
Firstly remove the screw cover inside the door pull – use a very thin-tip flat screwdriver and take care not to ruin the fairly soft plastic. Mine already had some scratches. Undo this screw fully with a Torx T20 bit and put in a safe place.
Then remove the 2 door handle bolts with a Torx T40 bit – they are very tight at the start then nice and easy – again put them in a safe place.
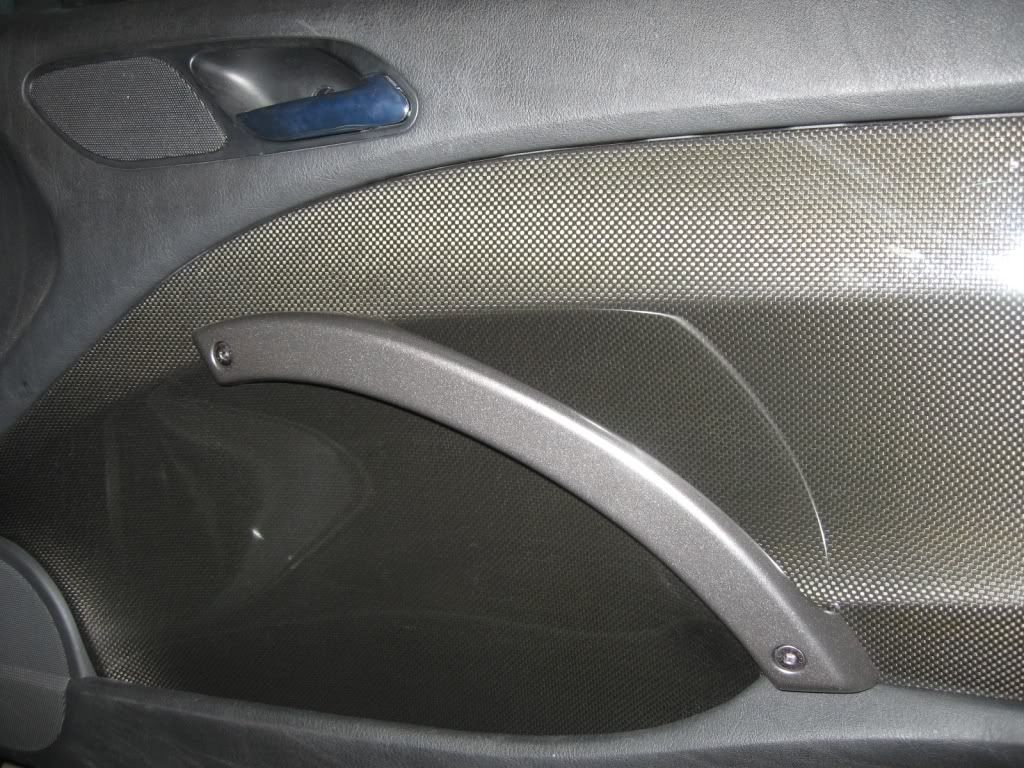
Now the dreaded door card clips – using a wide, flat trim removal tool, start at the bottom left and work your way around the bottom of the door from left to right. A fair bit of (measured) force is required, don’t be afraid to give it a decent prising force but no sudden force as you could damage the plastic clips. Same for the upper left and right clips.
Now the top edge by the window line needs unclipping. Again – a fair bit of force is required but be patient as they are quite tight. Start form the top left and move towards the right (door pin end) – obviously the direction changes dependant on which door you are doing.
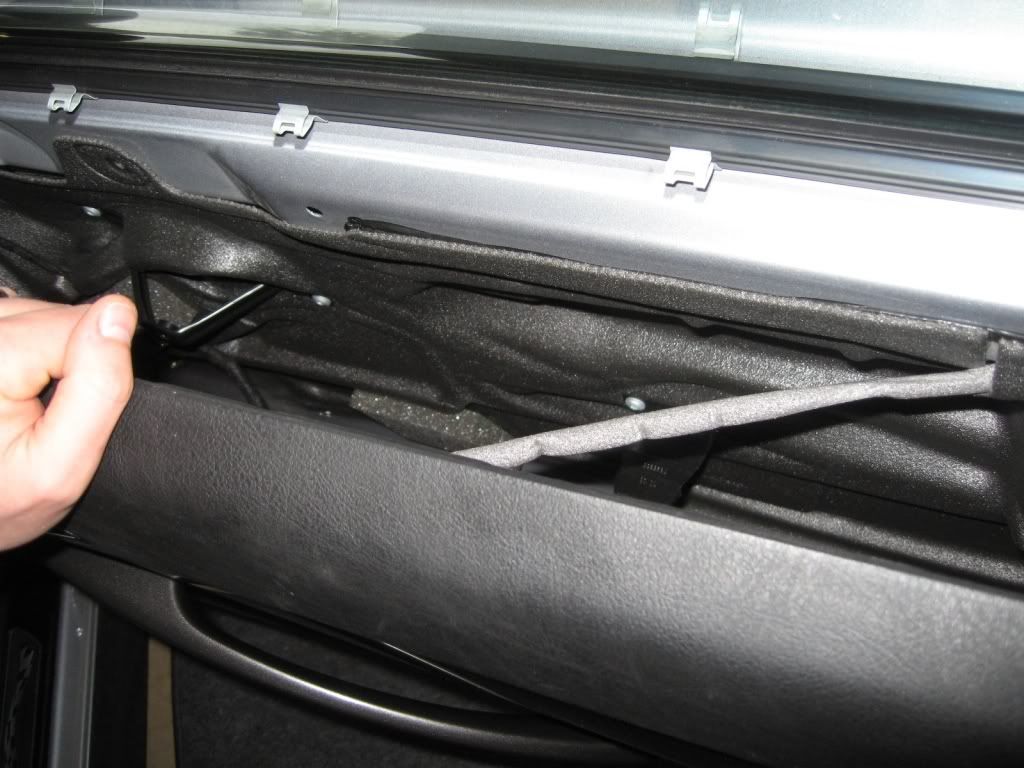
You should end up being able to pull the door card upwards and then completely away from the door metal – but it will still be held on by the door release cable. This needs unclipping by pulling away from you – quite easy but take care so as not to smack the door card back into the door metal.
Now the speaker connections can be unclipped and the card is completely free of the door. So far so good.
Find a good flat surface and lay out a towel or something else that will protect the carbon/plastic face of the door card.
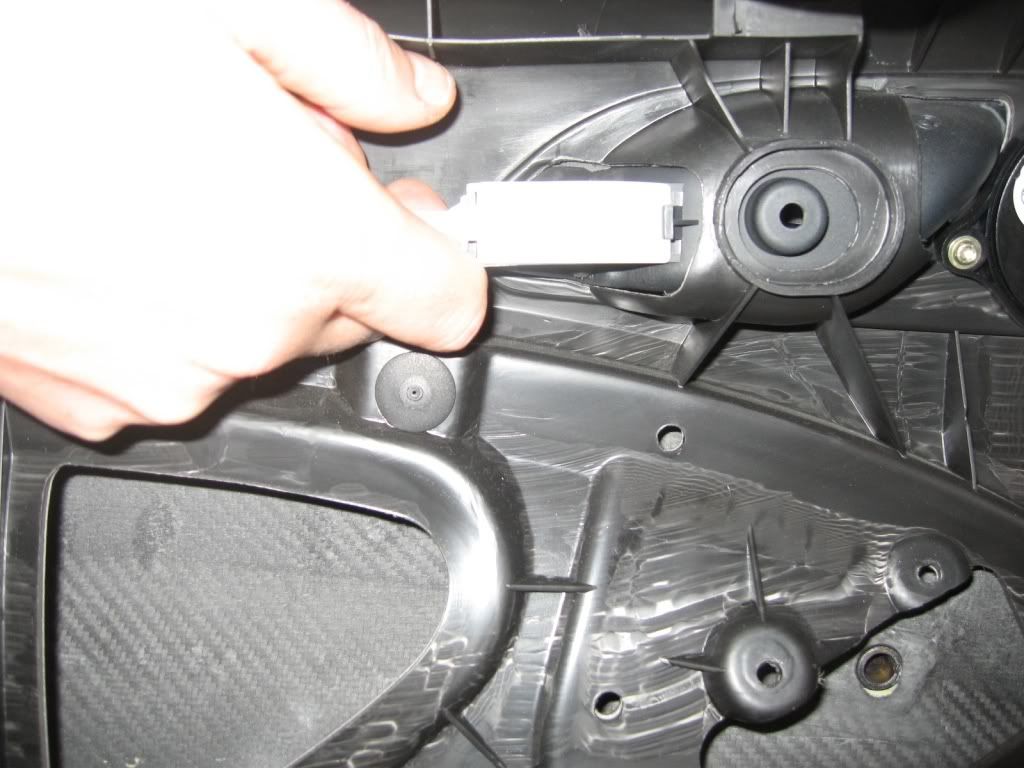
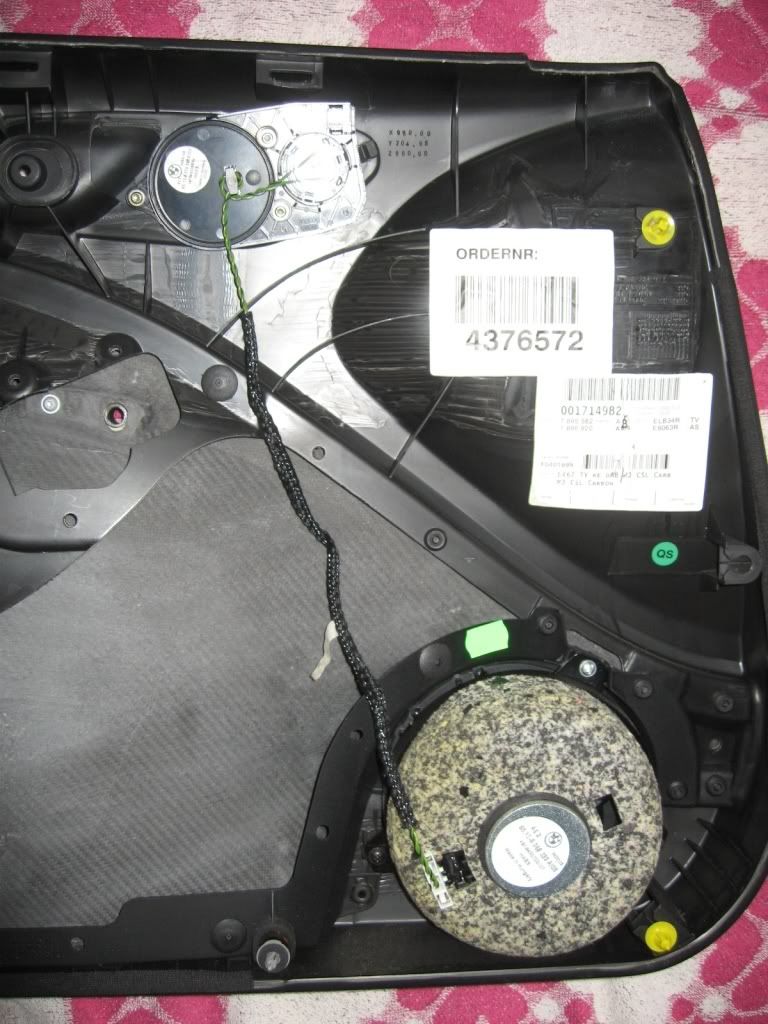
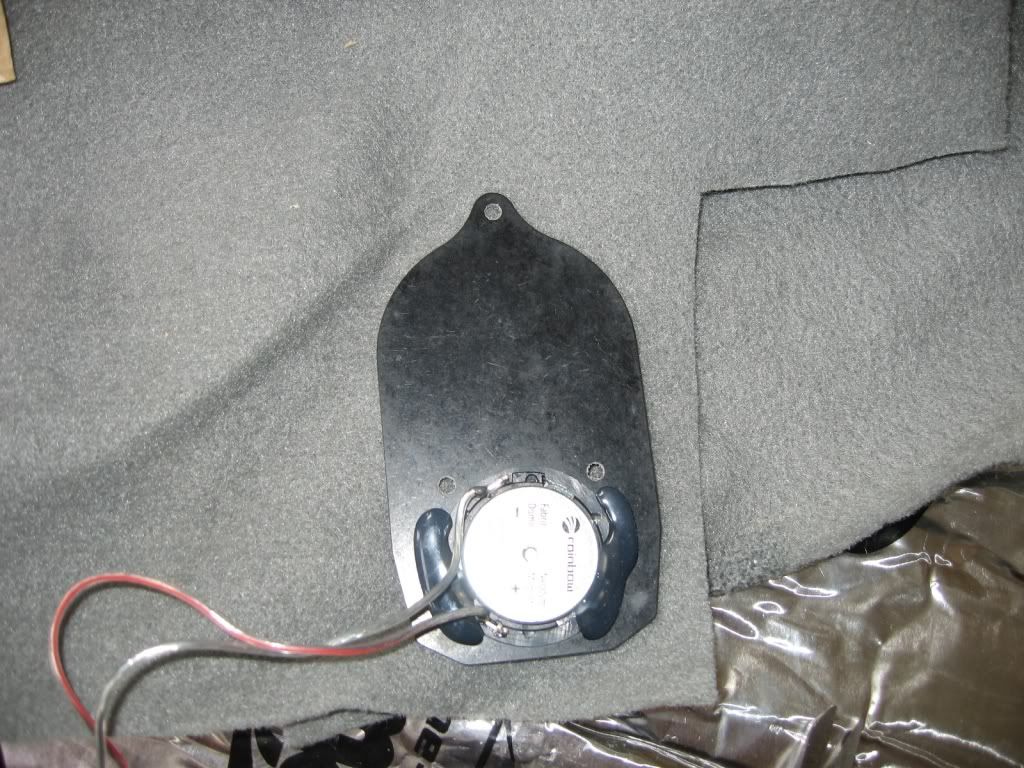
Remove the sound-deadening around the speaker – I made the mistake of thinking this should be reused but we’ll come to that bit later. Unclip the tweeter connection from the 6.5” speaker unit. There are three cross-head screws that need removing for the 6.5” speaker and 3 Torx T20 screws for the tweeter assembly – undo all of these and remove the OEM speakers from the door card.
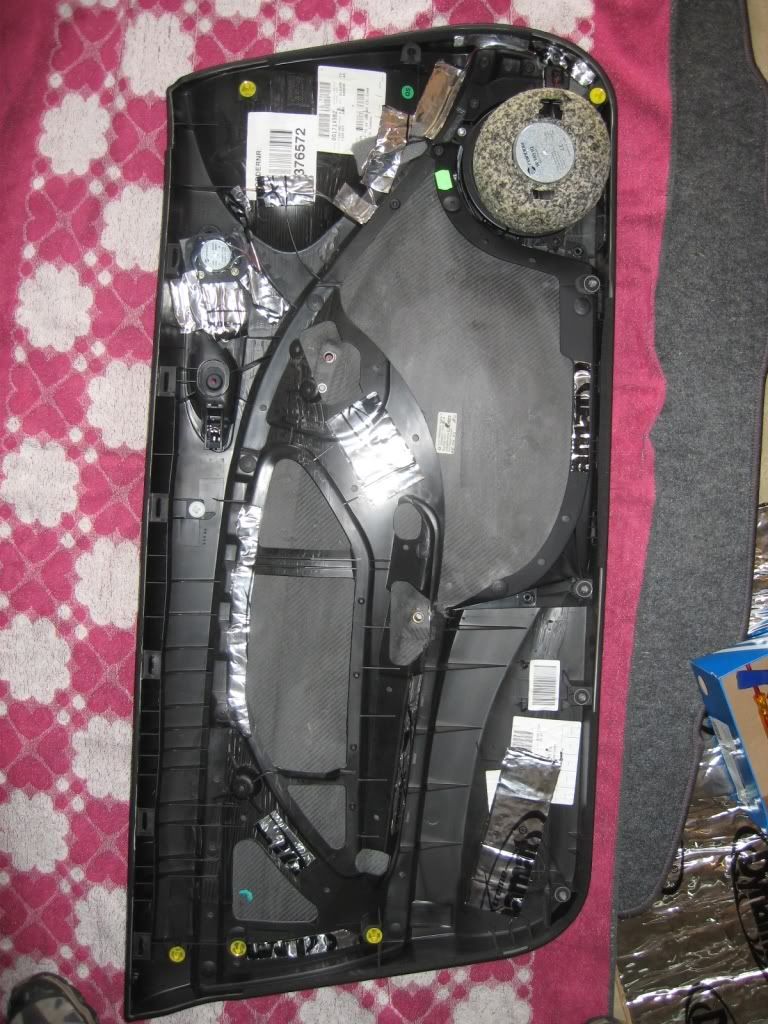
The next bit needed a bit of thought – I didn’t want anything to rattle but using tape isn’t the best idea – so decided to combine the sticky properties of Dynamat Extreme sound-deadening with the routing of the component set wiring. I started with the 6.5” replacement, found a good location for the mini-crossover unit and secured it into place with thin acoustic carpet (as packing material) and the Dynamat then routed all the wiring – again using the Dynamat. More carefully-placed strips of Dynamat round the plastic bits immediately surrounding the speaker – this stop sound transferring from speaker to plastic and means the sound will project from the speaker rather than get all muddied and crap.
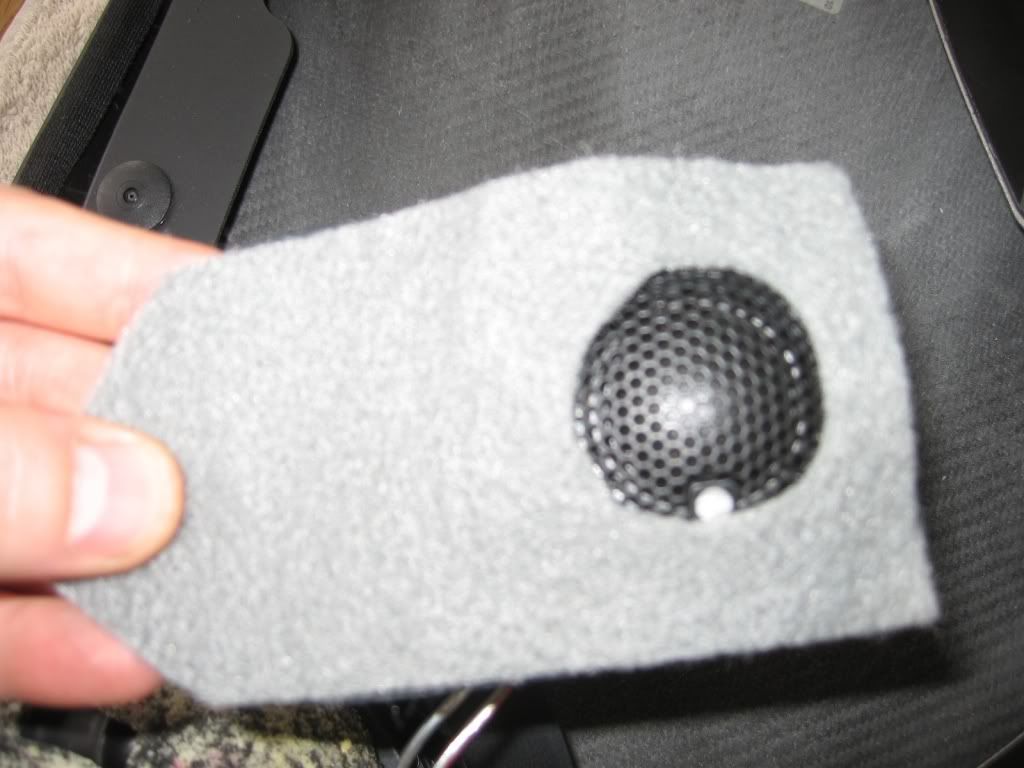
For the tweeter I realised that the Rainbow pre-fab assembly could rattle – so again by using acoustic carpet I made a “sandwich” layer and cut out a rough hole for the tweeter to fire through. This plus the Dynamat means it fits nice and snugly when screwed back into place.
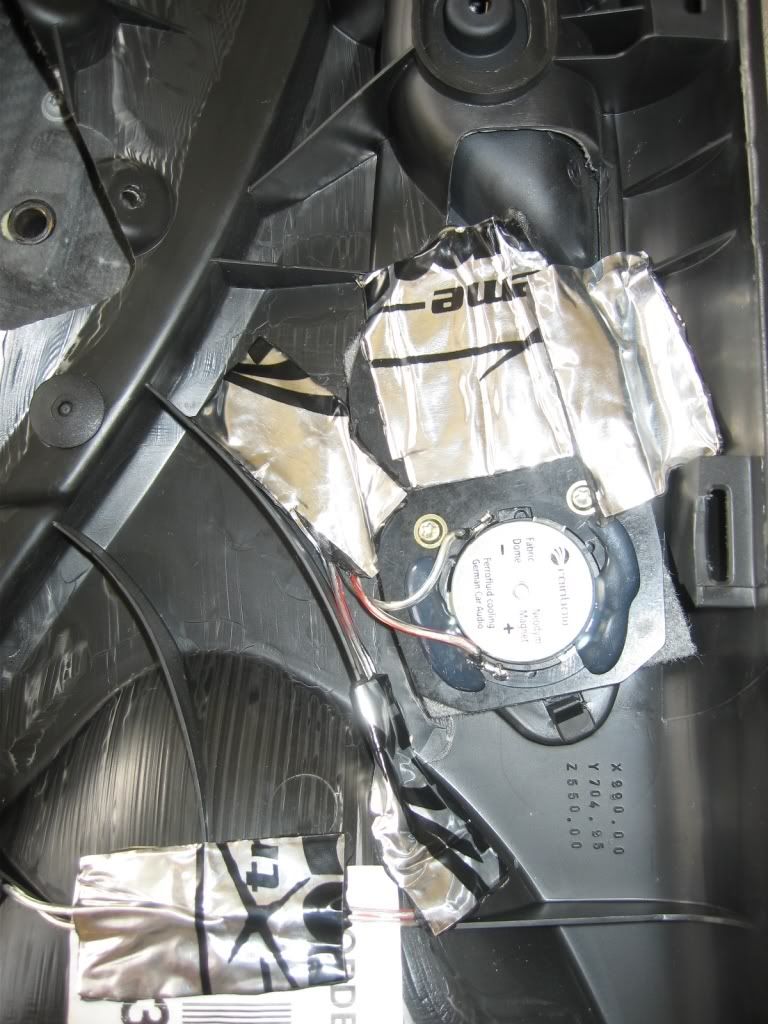
For the 6.5” and tweeter units I just reused the OEM screws and everything went nicely back in. Some more tactical Dynamat on plastic surfaces that could resonate and the door card is ready.
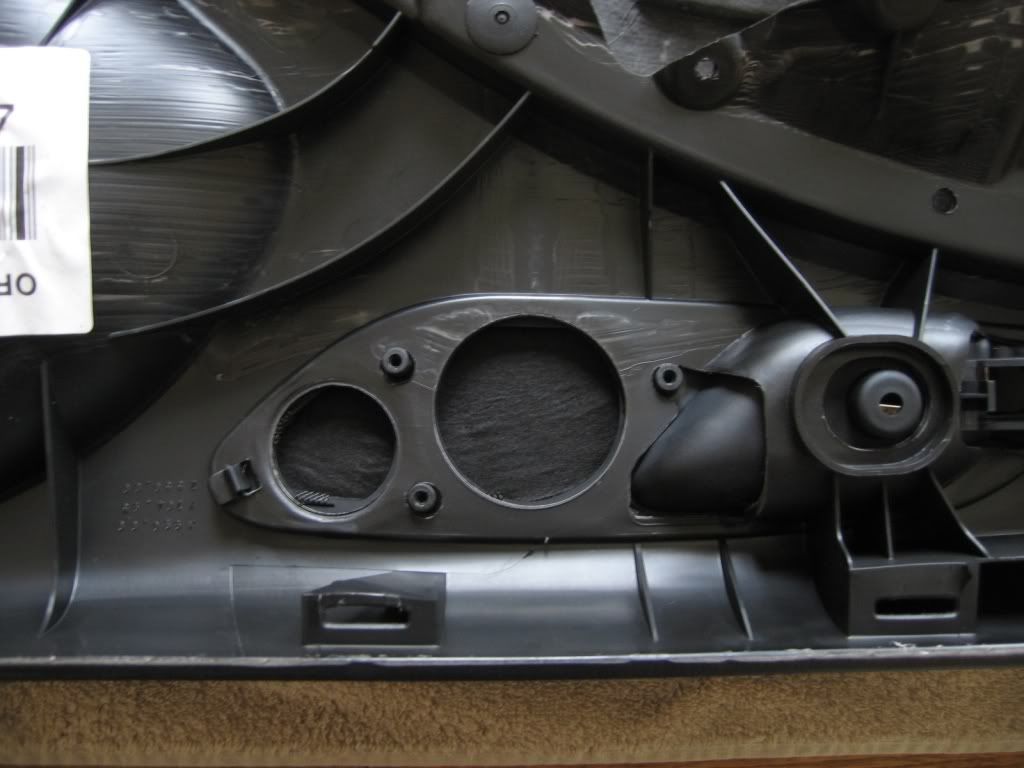
Started with this
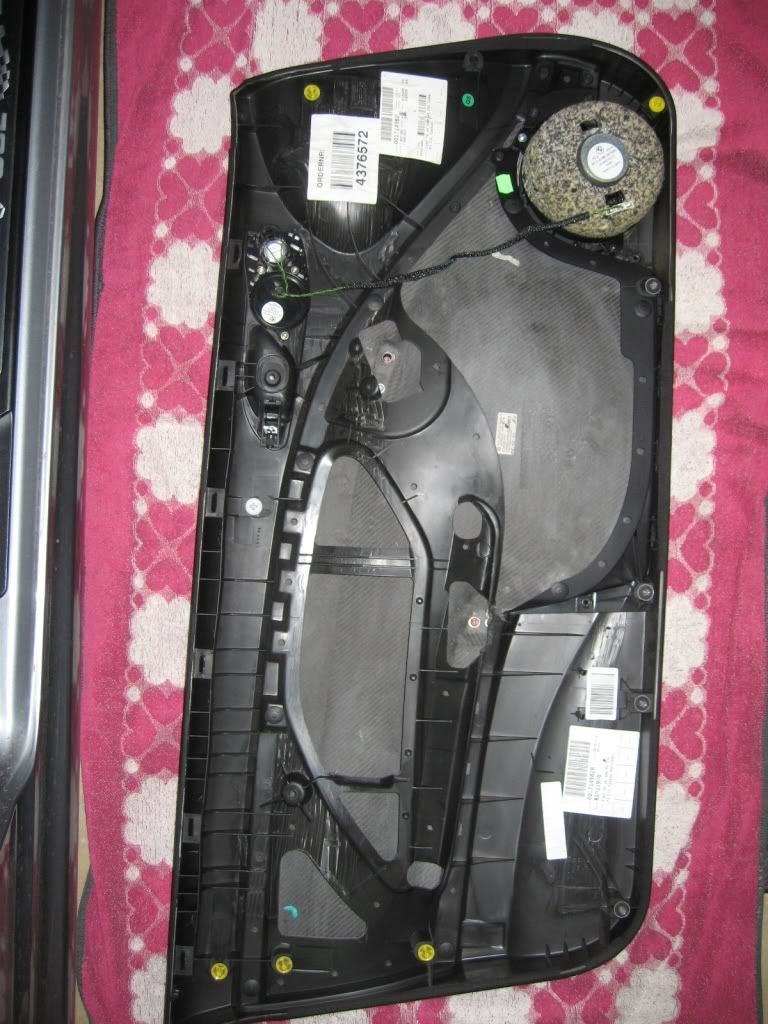
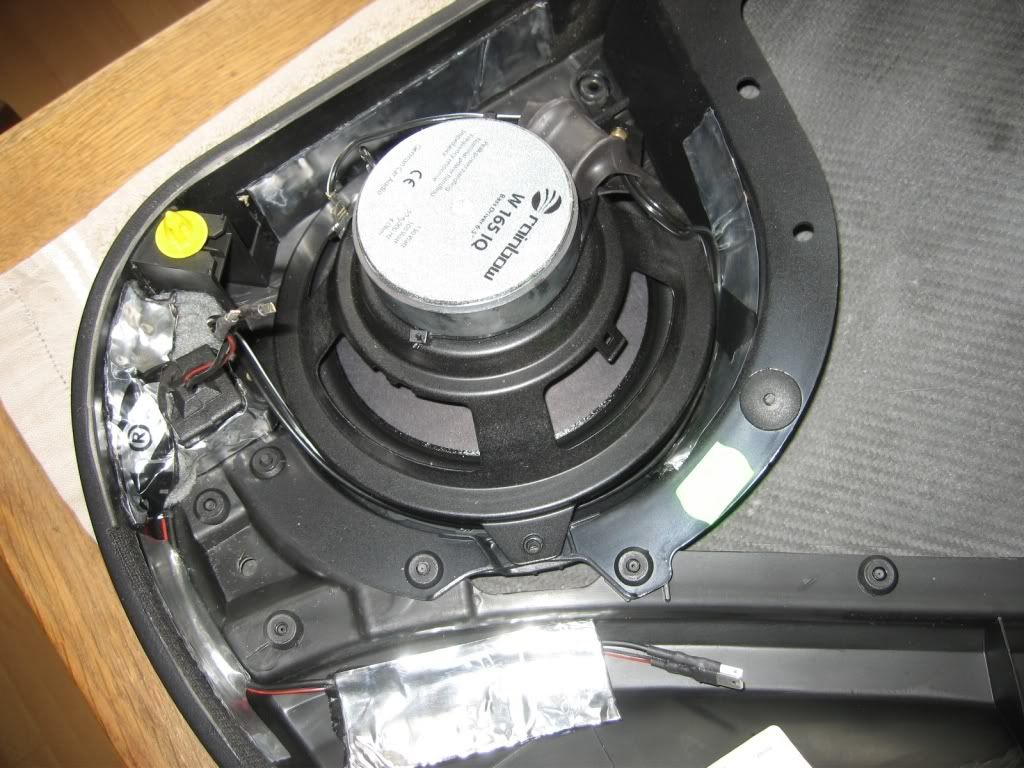
Ended up with this (ignore the sound-deadening around the 6.5” speaker in this pic)
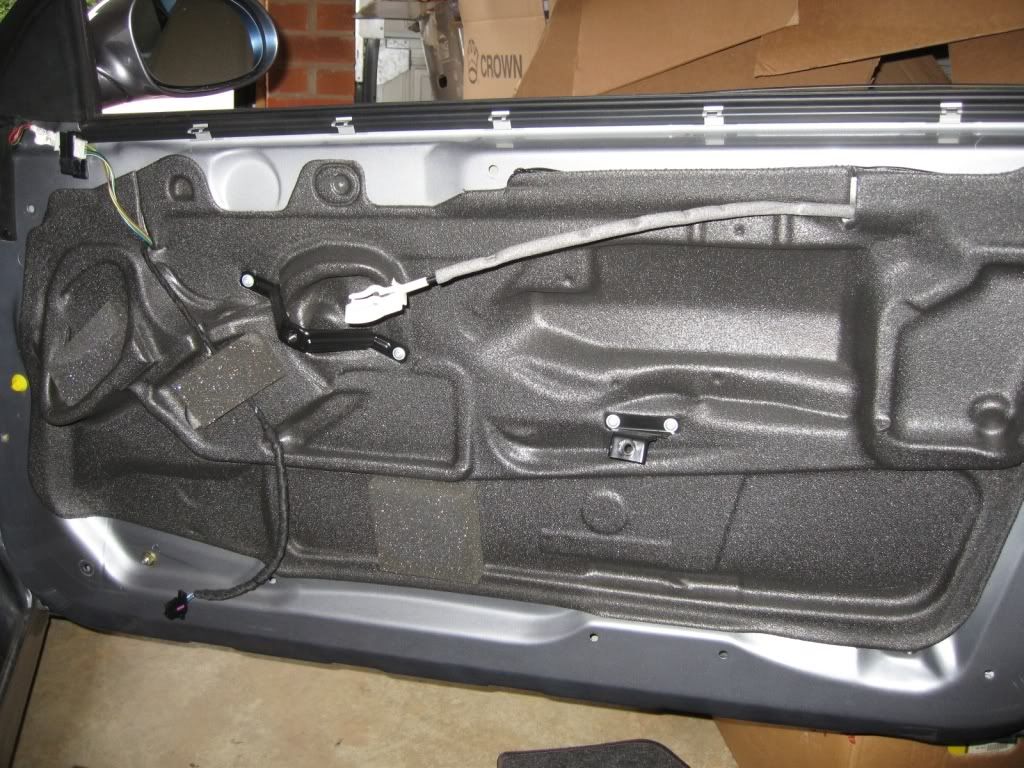
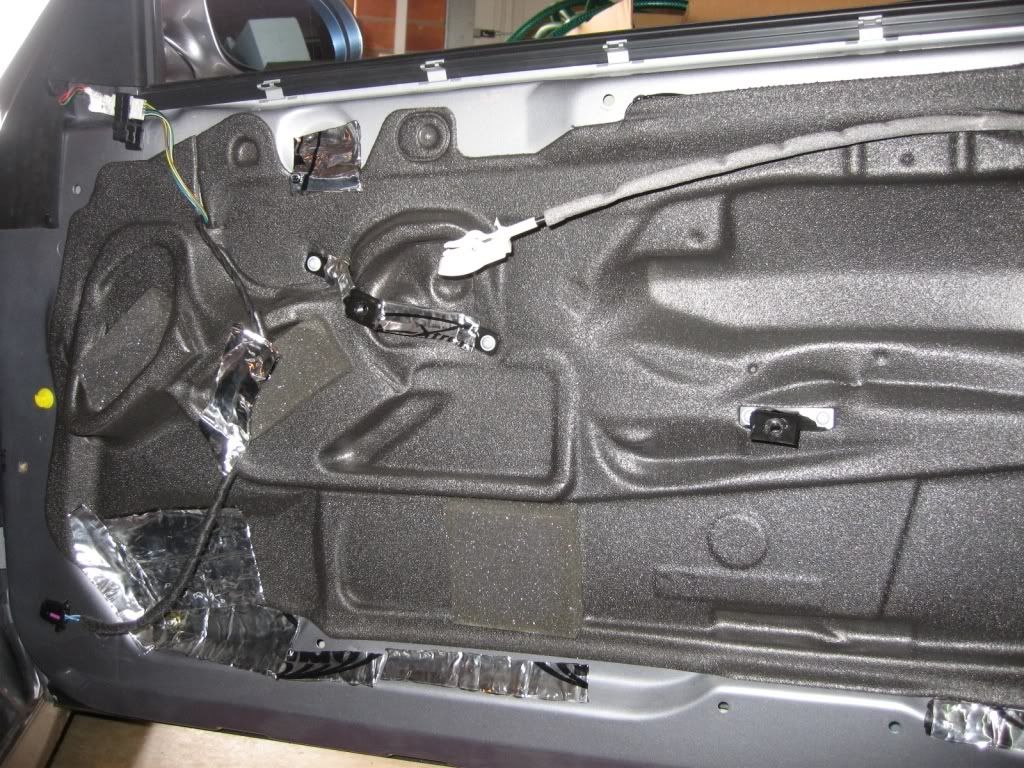
Then back to the car – the metal door skin also needs Dynamat – particularly on the area directly where the speaker is going to fire. I cannot stress enough how much of a difference this makes – would recommend spending the time on the door metal to get the best value out of your speaker investment. I also chose to do a few other areas where resonance could occur. Note I haven't gone too mental with the Dynamat - just enough to stop the door metal trying to behave like a speaker.
Then the door card needs re-hanging on the door. Reverse the approach to taking it off remembering to fix the door pull cable on first – but only clip in the top piece so the speakers need connecting to the OEM door wiring.
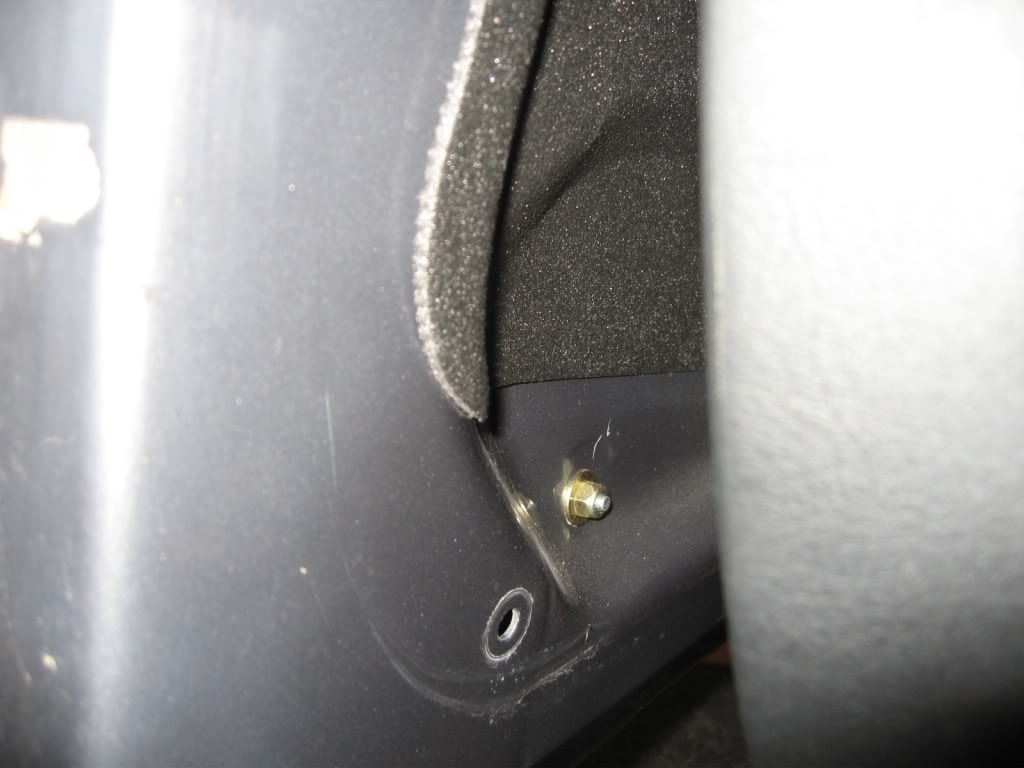
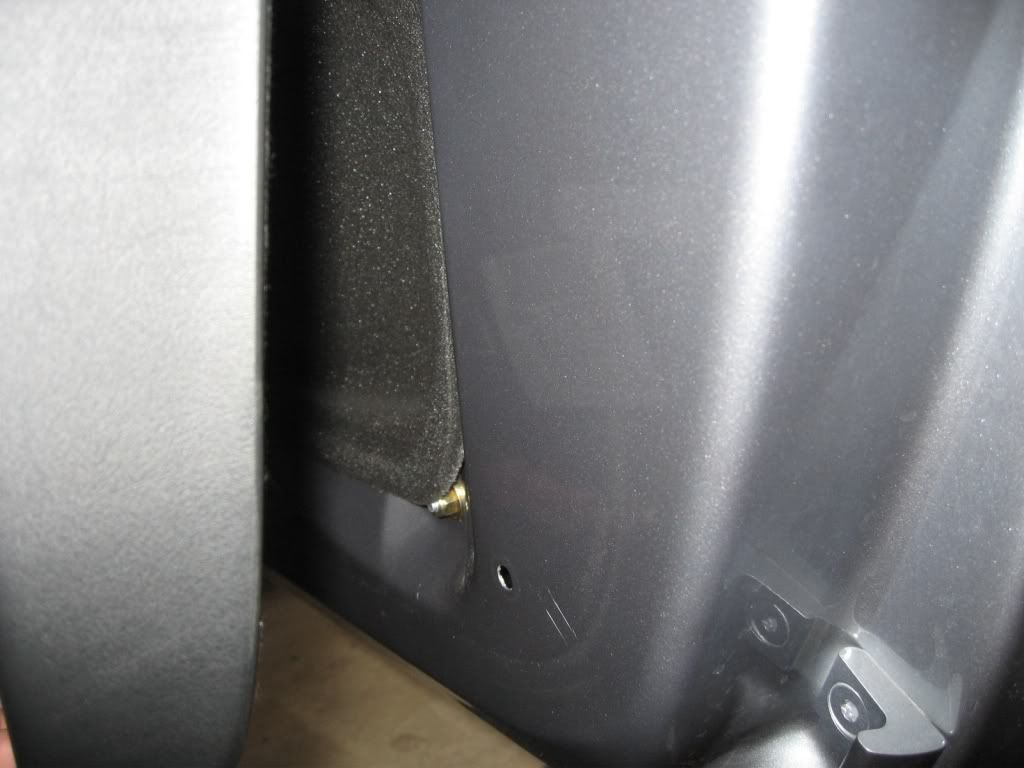
Then from underneath the door you can plug in the speaker wires to the OEM connector block – I then wrapped this in a small piece of acoustic carpet and taped round to ensure no rattling and some protection for the home-made connector.
This is the point where you MUST check the speaker phase (positive/negative connections. As with the rears – low volume and listening to the sound it’s pretty easy to tell which is the right way. Don’t leave this bit until after you’ve refitted as it will be a bugger to fix !
Then push in all the remaining door card clips – firm force required without being brutal. Make sure the speaker connection wires are safely out of the way so they don’t get damaged.
So why not reuse the OEM sound deadening round the 6.5” speaker ? Well I tried the door card half-on with the volume up a bit – then 2/3 on to double-check – and it sounded pretty rubbish. The Rainbow kit seems to prefer having more room to breathe – so I ditched the material.
Double-check all the clips are tightly fixed, then refit the large Torx T40 bolts – might need some nifty handiwork to get them lining up correctly inside the door card – then refit the Torx T20 screw into the door handle assembly, replace the plastic cover and all done !
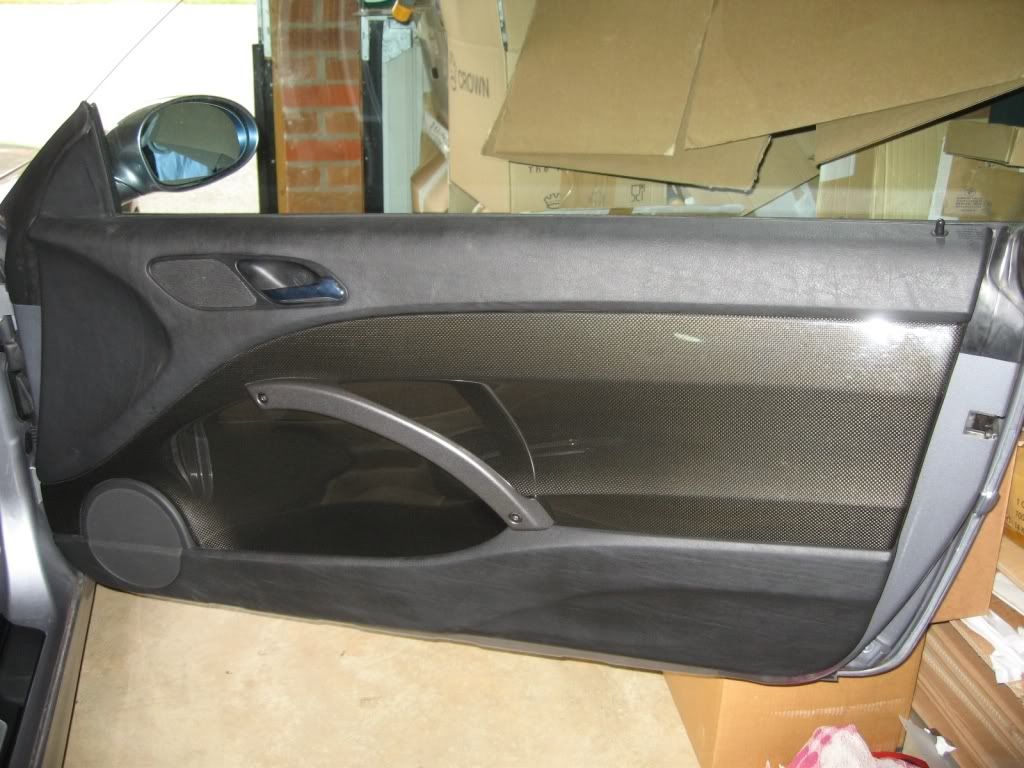
The difference is pretty astonishing – I’ve gone for fading the system back 1 or 2 notches, Bass up 2 and Treble at the middle setting. For a speaker-only upgrade, this is well worth the ££ and time.
The rears took me 2.5 hours and the fronts 3.5 – but I did the second front door in about an hour including removal and refitting. Very glad I spent the time routing all the wires and checking everything carefully as it all worked first time and has now given me the audio quality that the car should have been given from factory. More than happy with the with the results !